

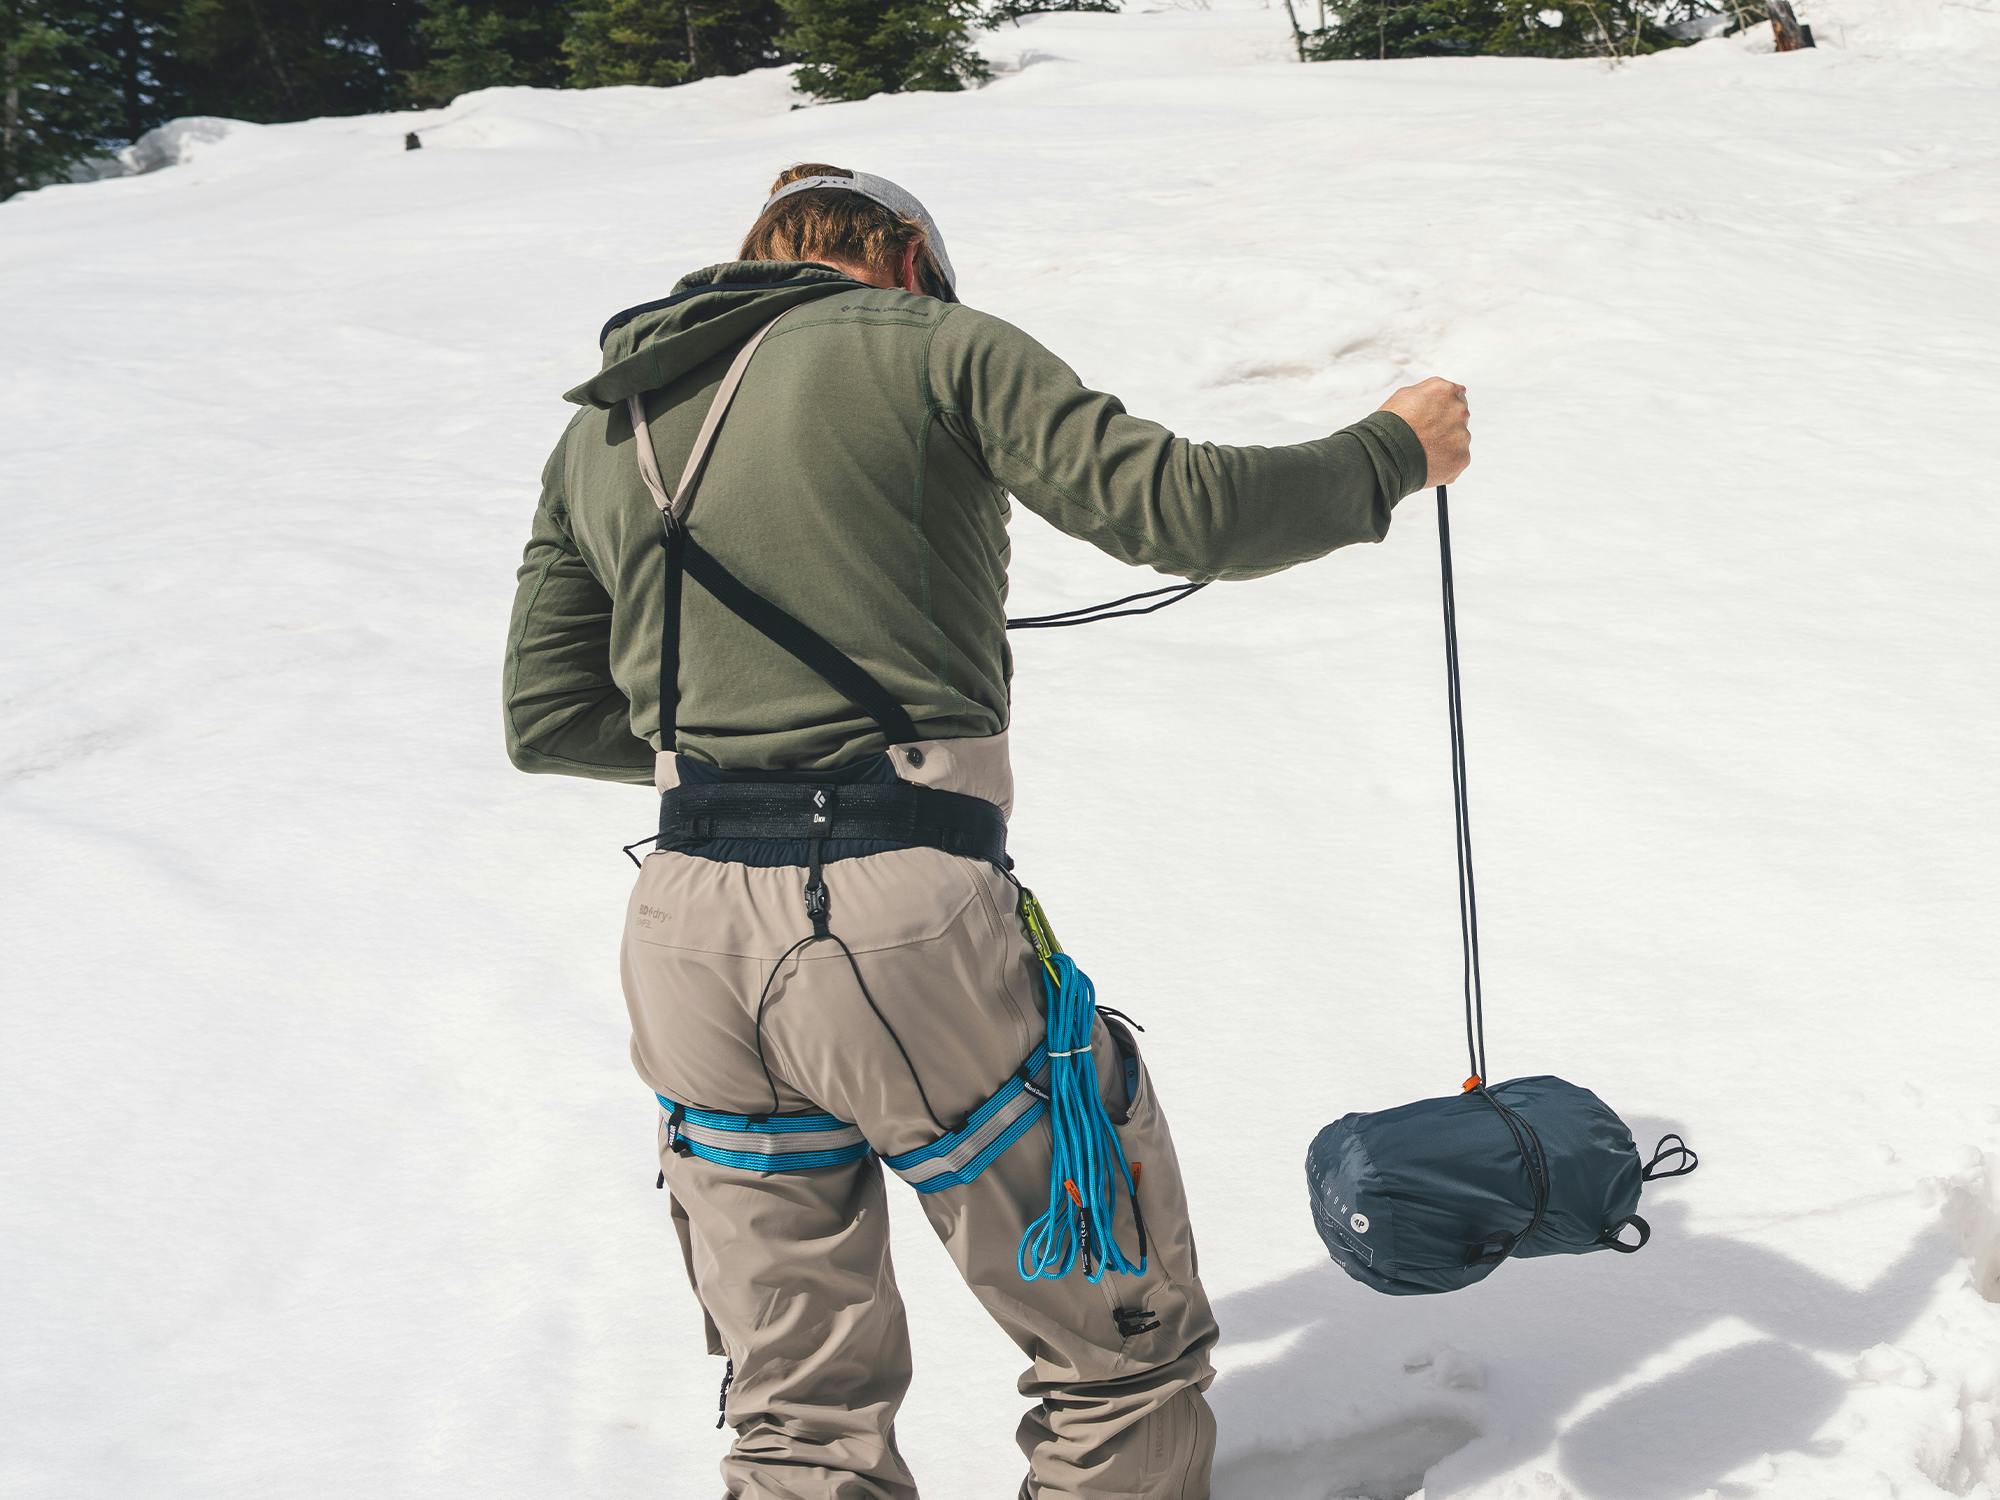
THE YOSEMITE TRIPLE CROWN
Timestamps from Chris Deuto and Erik Anderson climbing Yosemite’s Triple Crown Link-up.

Tu as un compte ?
Connecte-toi pour passer à la caisse plus vite.


Timestamps from Chris Deuto and Erik Anderson climbing Yosemite’s Triple Crown Link-up.

Follow Karina Carsolio and Hillary Gerardi to Bolivia, where they search for connection and remembrance...

Jackson Hole Mountain Guides offer their favorite climbing and trail running routes for the ultimate...

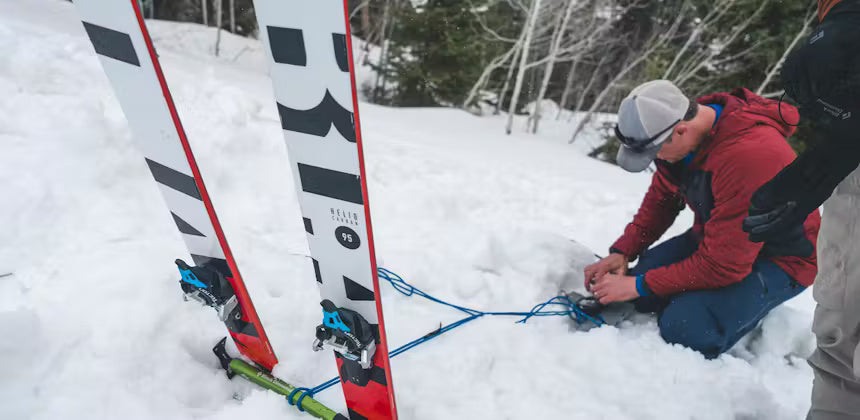
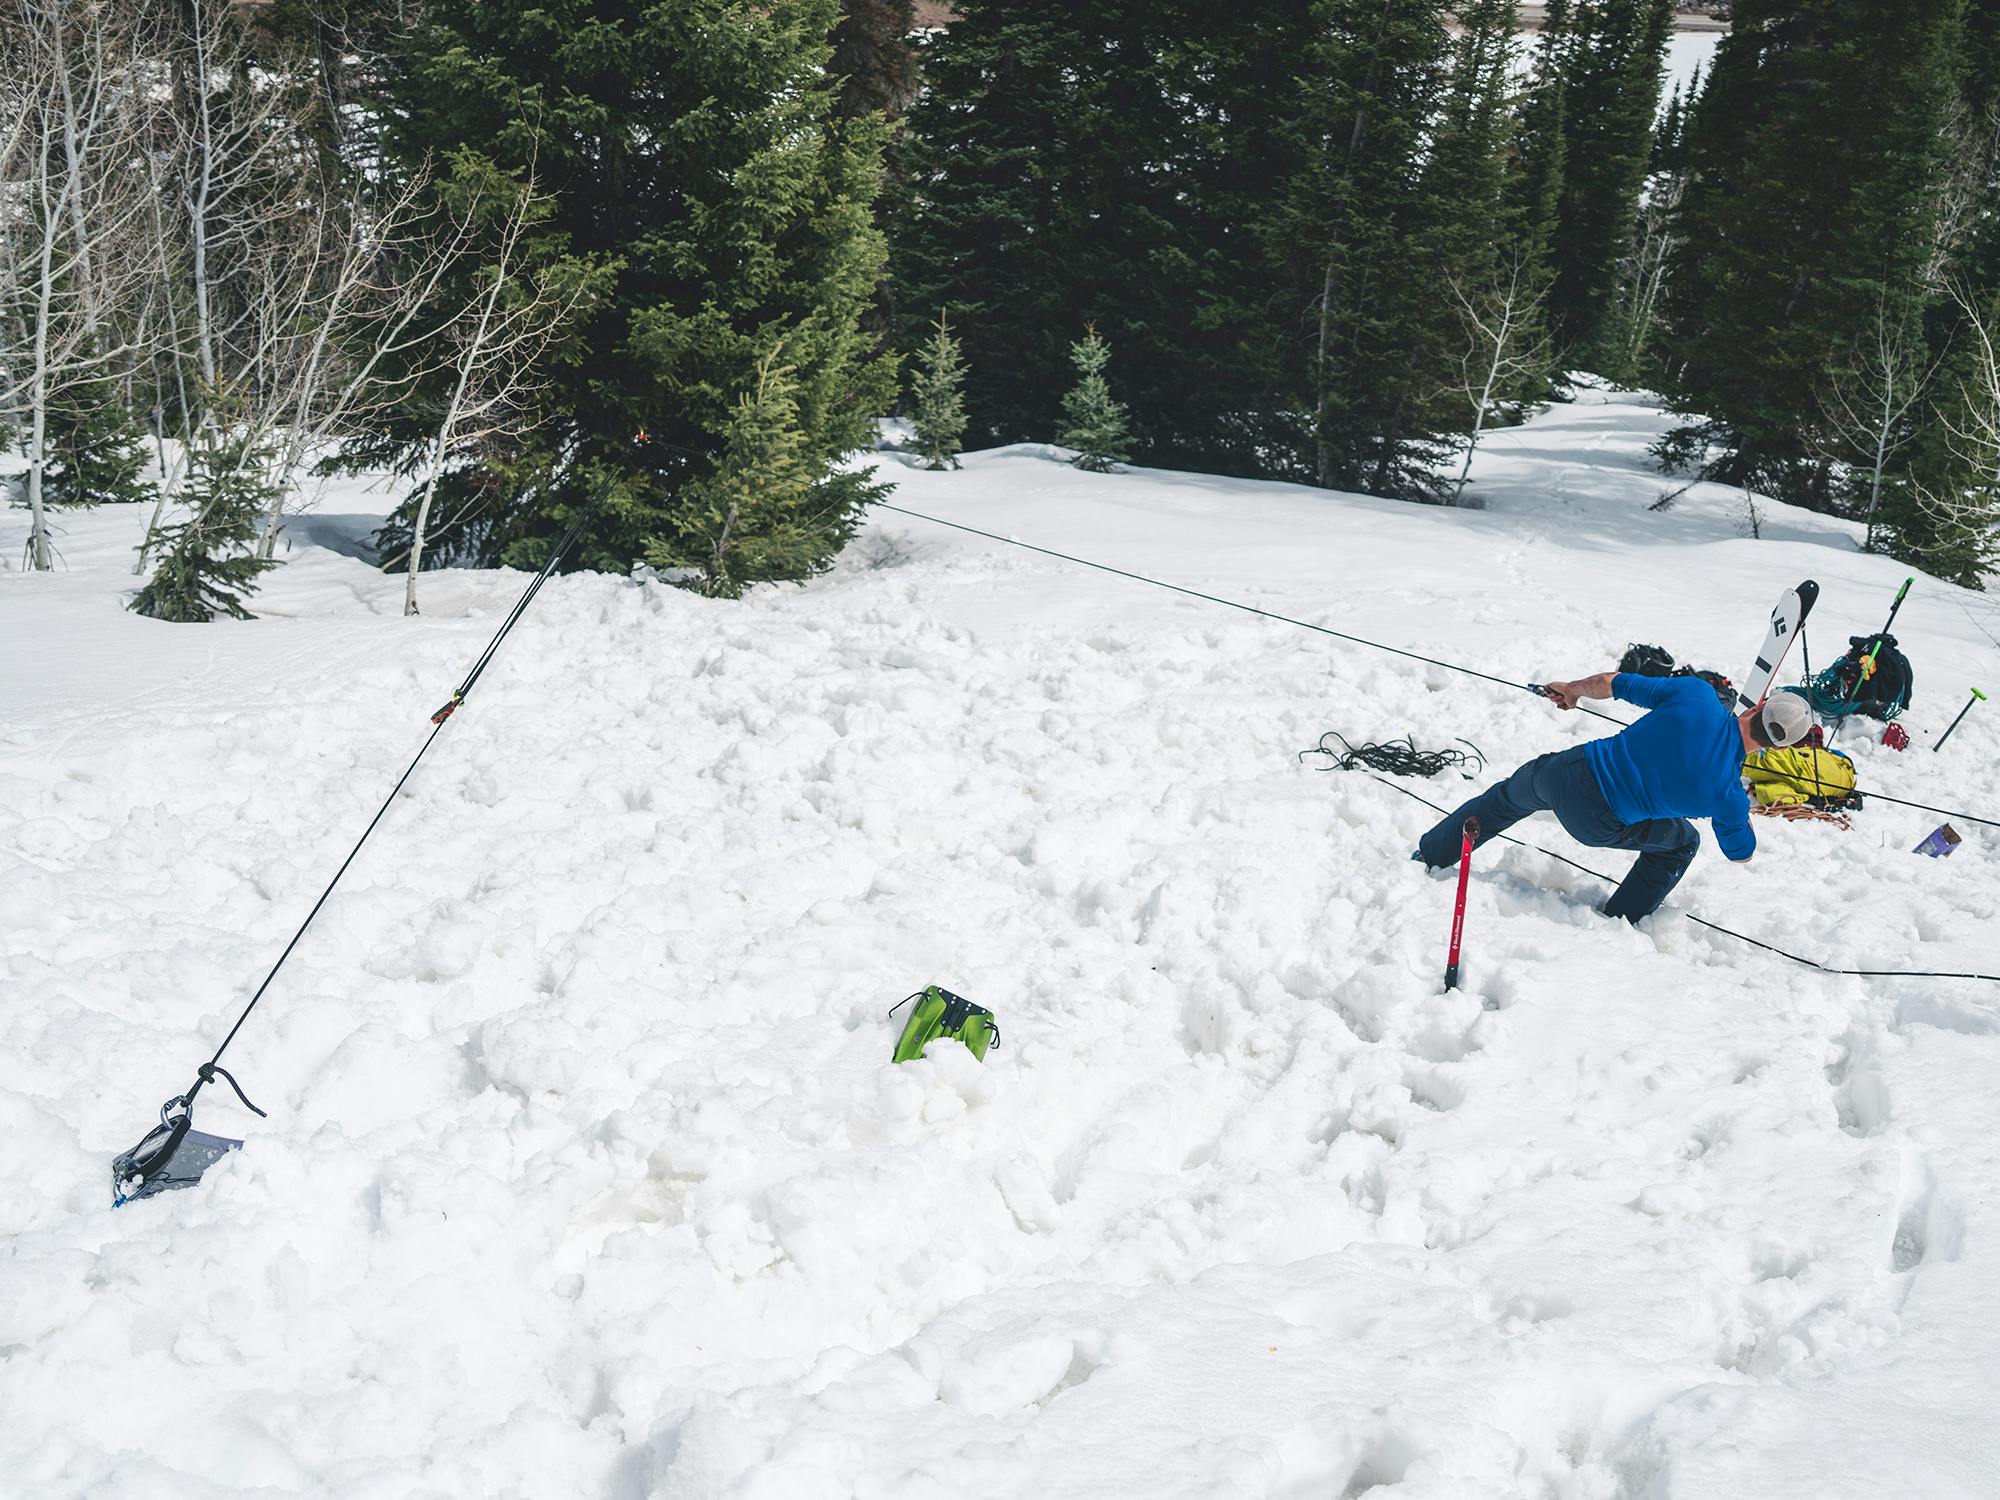
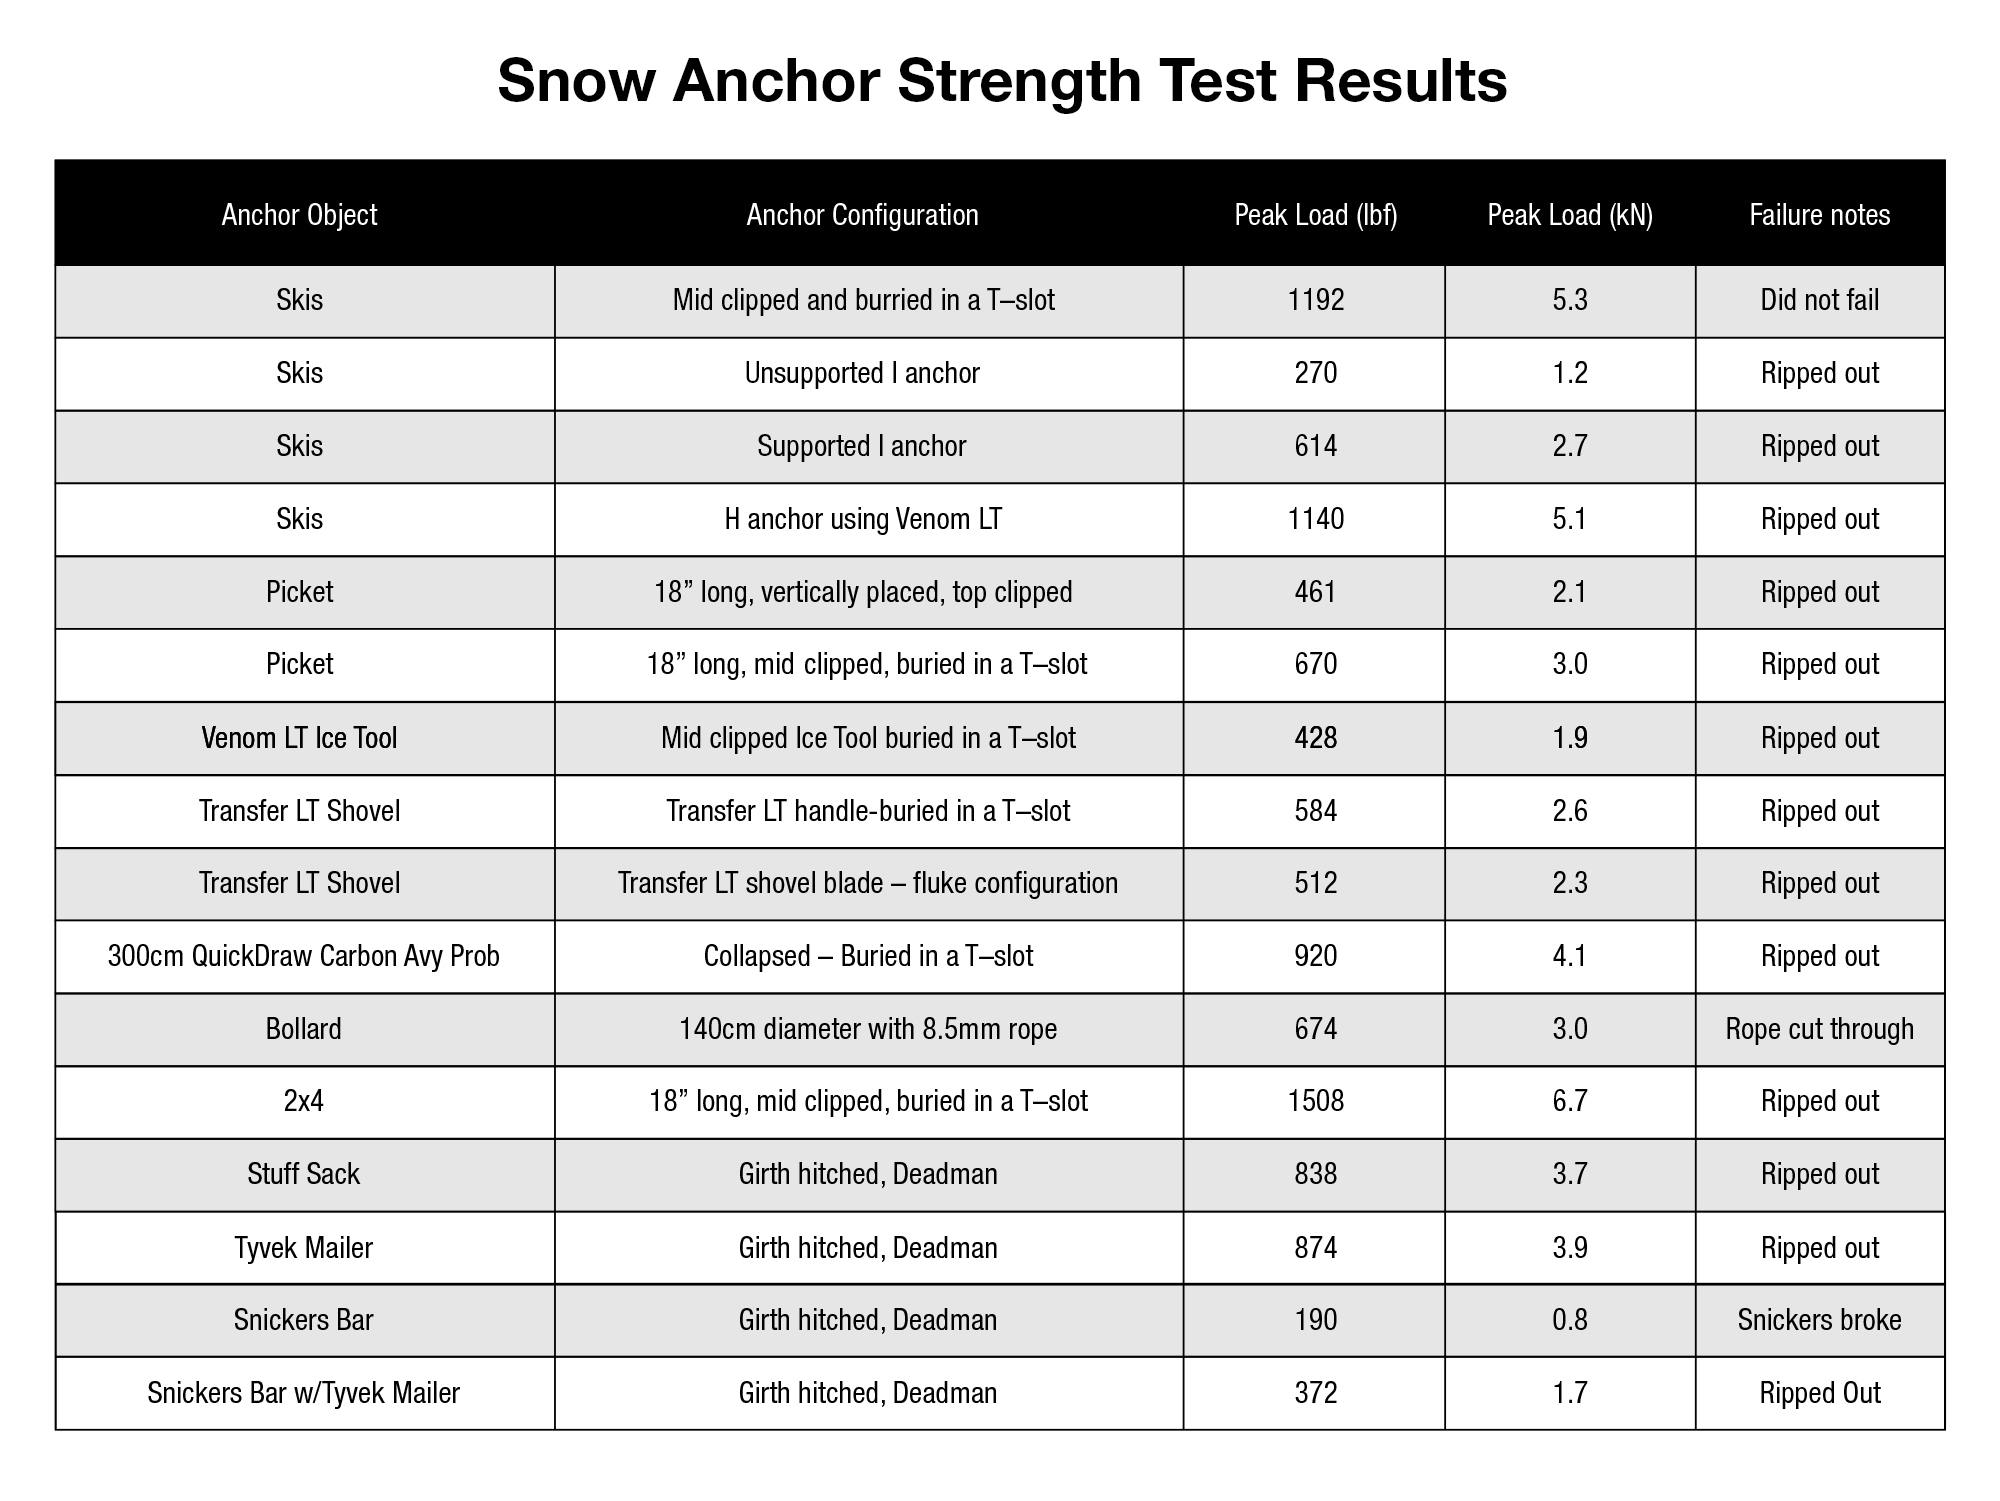
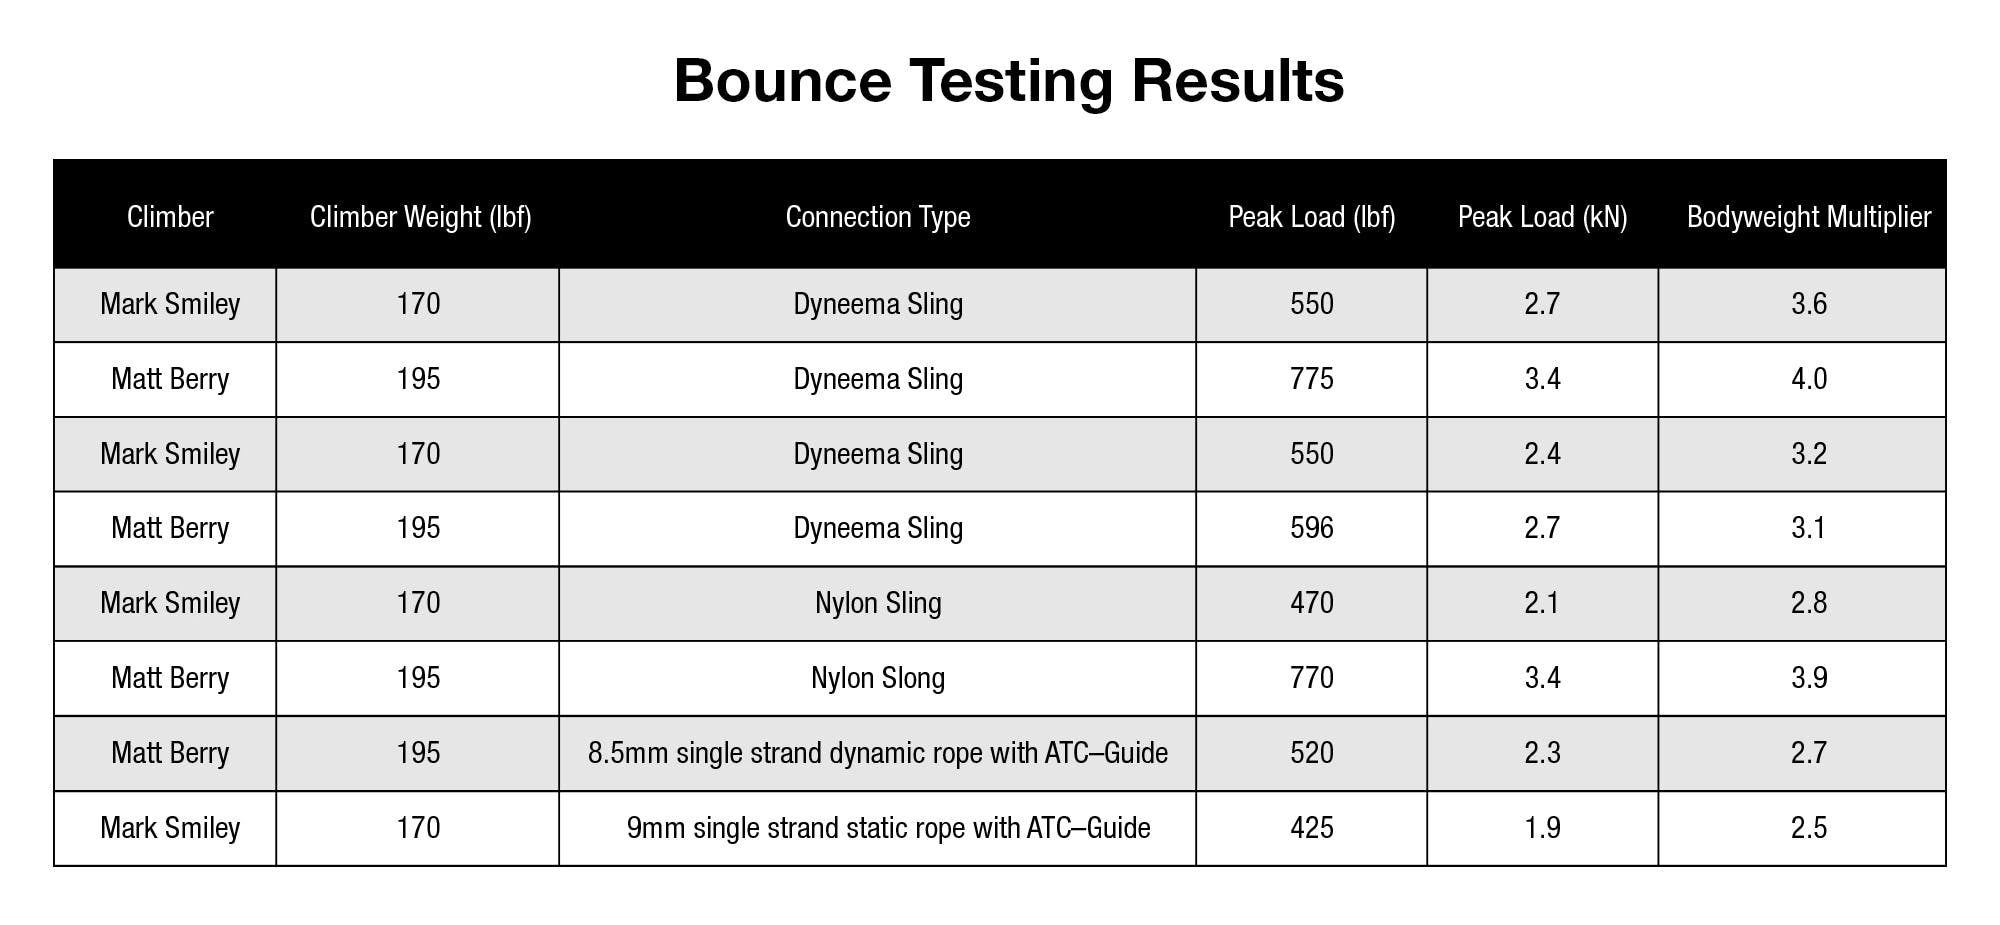
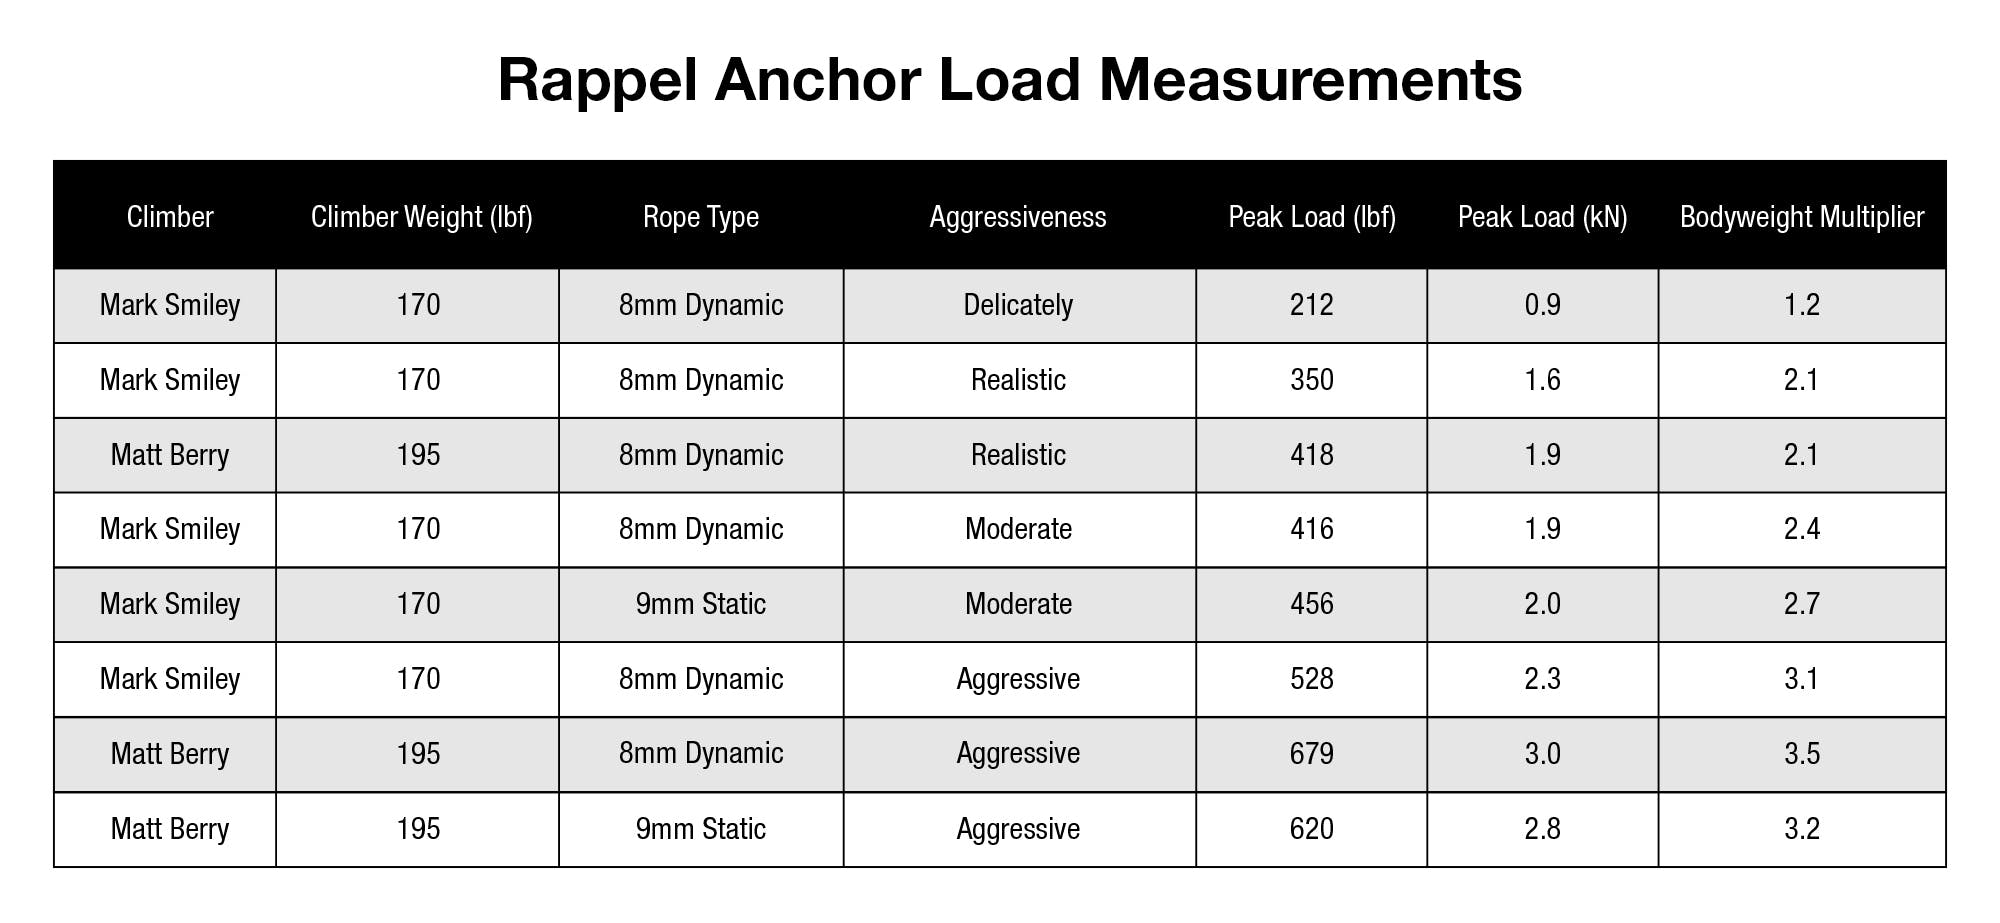
Essential equipment for climbing in the Winds.

Our gear and apparel is made for mountain movement, featuring innovative designs and durable constructions....

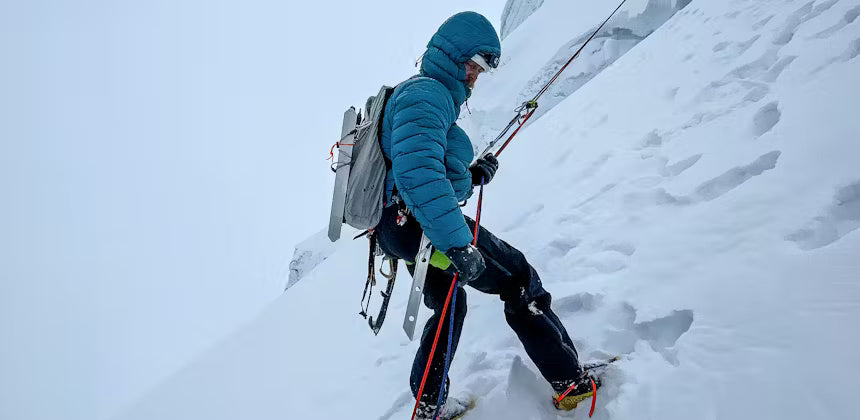
What to wear for alpine rock climbing.

What equipment to bring alpine rock climbing.

Watch BD Athlete Seb Bouin establish the hardest sport route in China.

Your ultimate guide to lighting the way.

L'essentiel pour la course en montagne.

Conçu pour le confort et la liberté de mouvement, fait pour la vie d'escalade.

Un guide pour trouver le sac adapté à vos besoins.

L’ambassadeur BD Eric Jerome nous parle de son expérience dans la petite ville brésilienne de...

Les athlètes de montagne Joe Grant et Kelly Halpin nous guident à travers leurs choix...

L'ambassadeur BD Ethan Salvo explique pourquoi Squamish produit des "testpieces" pour la prochaine génération.