
TOWING THE LINE
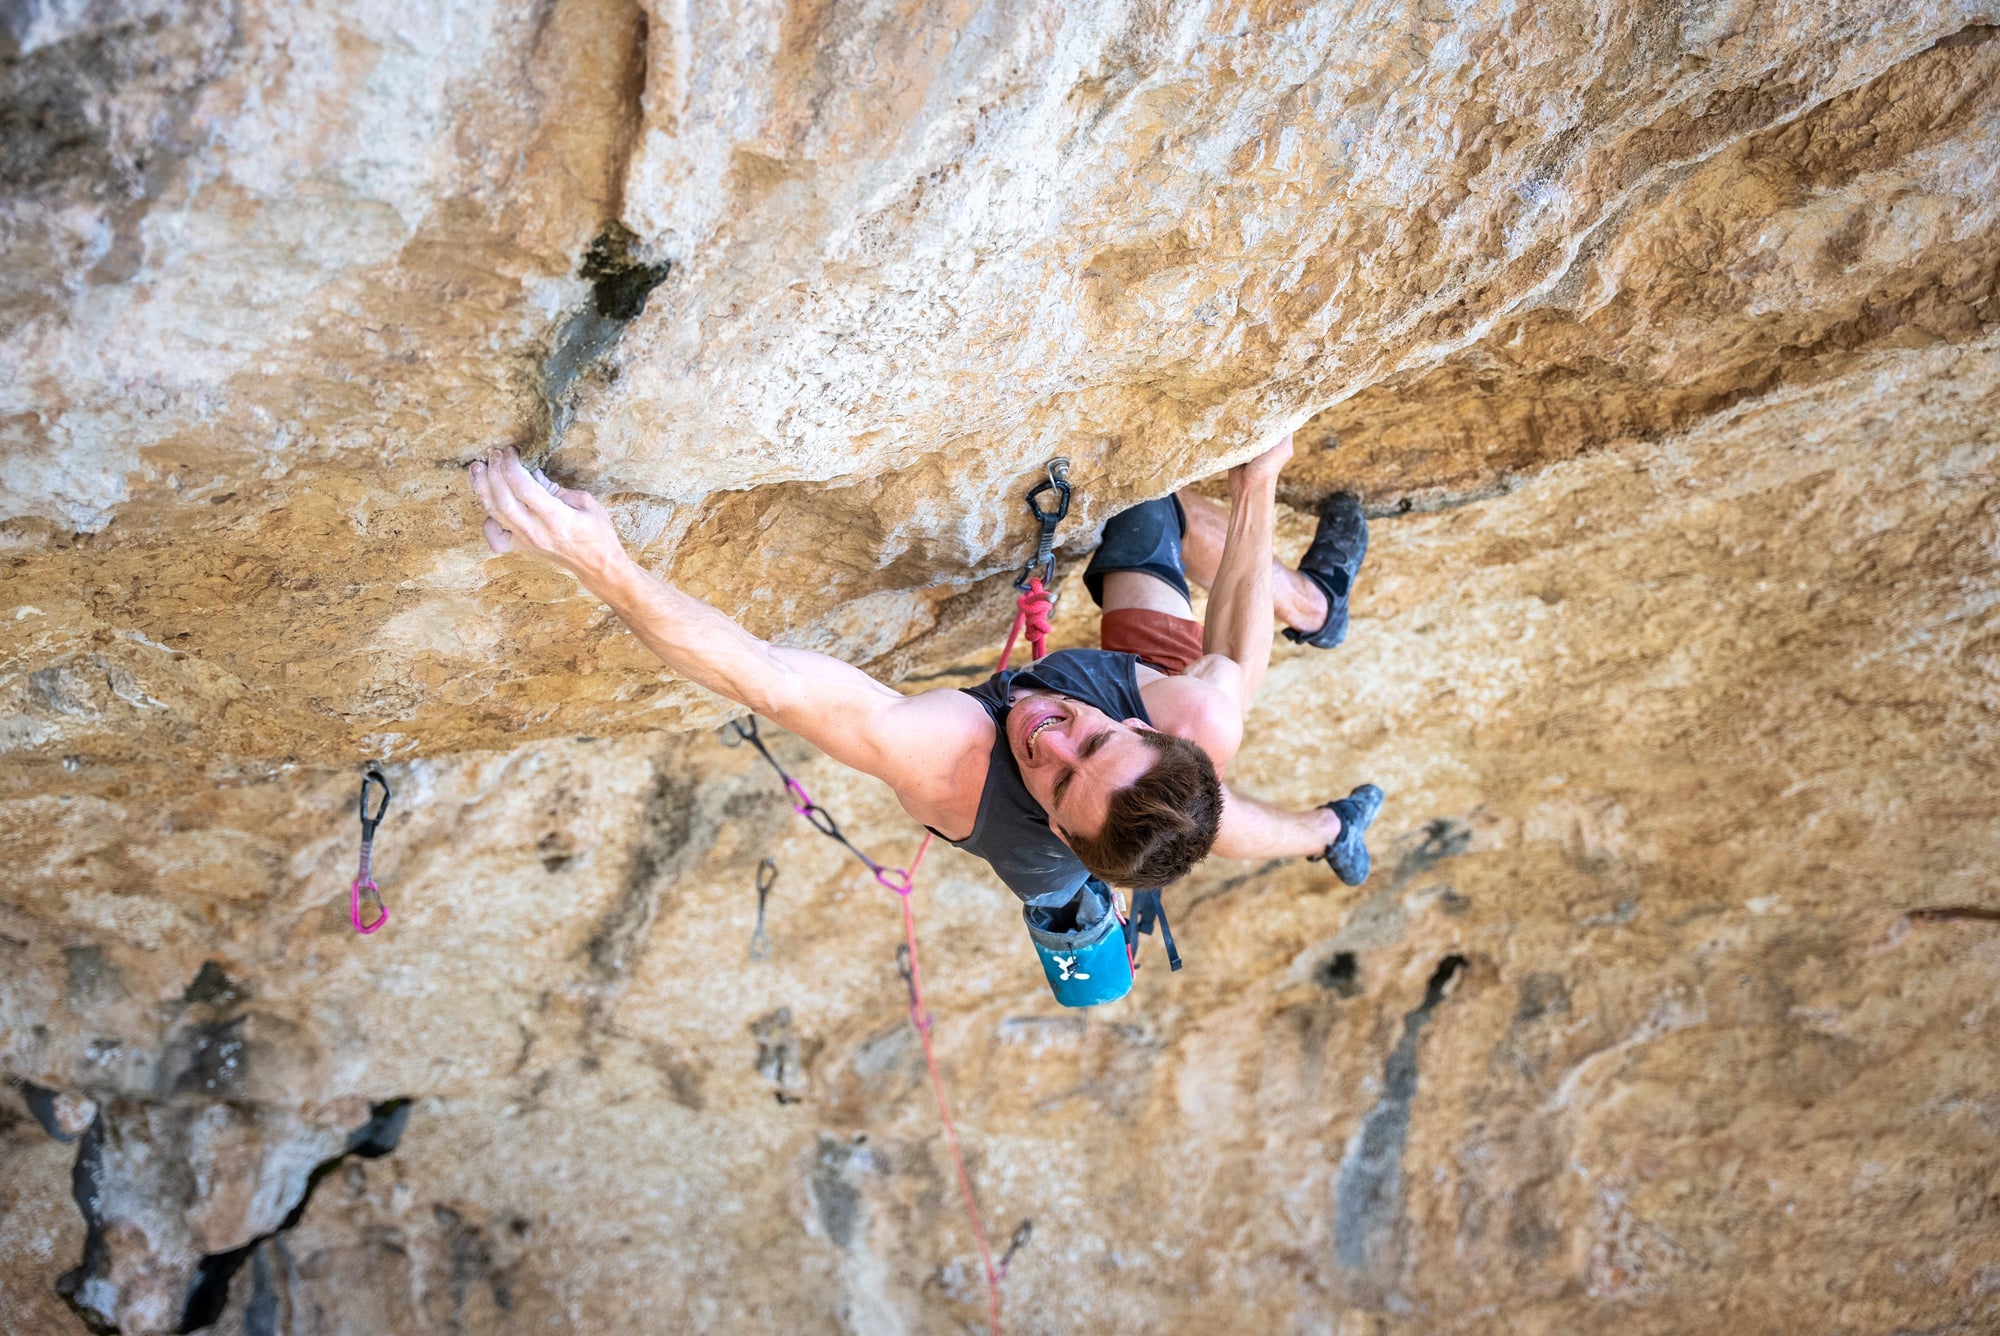
Watch Connor take down another classic testpiece on the Empath cliff in Kirkwood, California.
Tu as un compte ?
Connecte-toi pour passer à la caisse plus vite.
Add $99.00 more to quality for free Shipping!
$0.00 USD
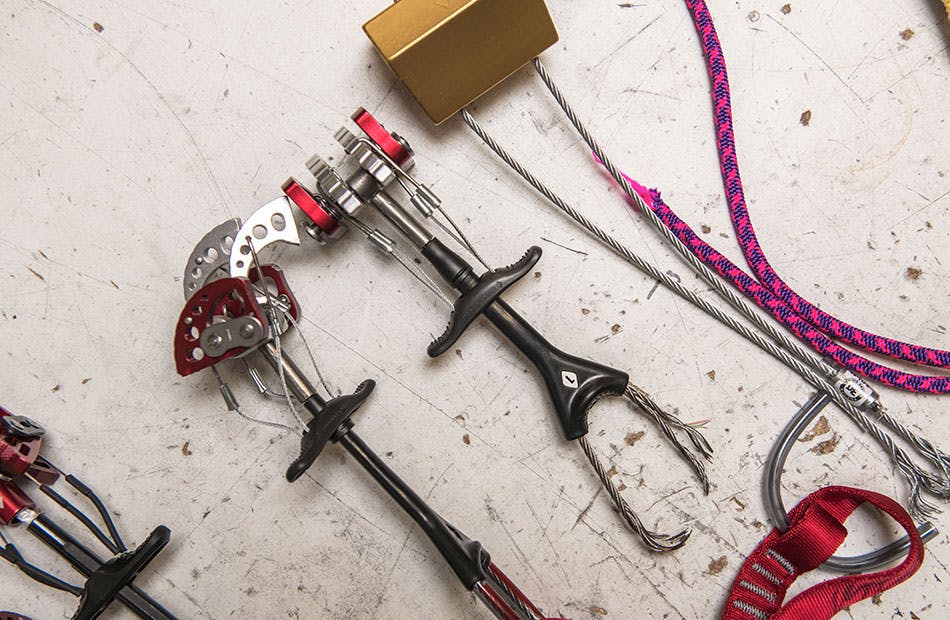
In this QC Lab, KP and crew cover these quick hits by doing what they do best—breaking stuff! Check out the results and glean the beta that we learned through this testing process.
Thanks to all the folks that submitted ideas for this QC Lab post. We had some great ideas, some ideas we’d already done, some whacky ideas, and some sketchy ones. Instead of diving deep into one particular topic we decided to do some quick and dirty quick hits, where we’ll break some gear and talk about it without getting into too much detail. I solicited one of our crack crew of Quality Engineers, as well as our in-house photo wizard, and we spent a few hours breaking stuff in our trusty tensile tester.
In typical non-PHD level thesis style, we’re going with n=1. As in, ONE data point for each test. Even though I always give a disclaimer that this is just informational, for discussion purposes, it never fails that I get feedback from mathematicians, scientists and engineers out there claiming this data is not statistically relevant due to the small sample size. I get it. If those folks want to do a full-on scientific study on any climbing gear, that’d be awesome as the more information out there that educates new and old climbers alike, the better.
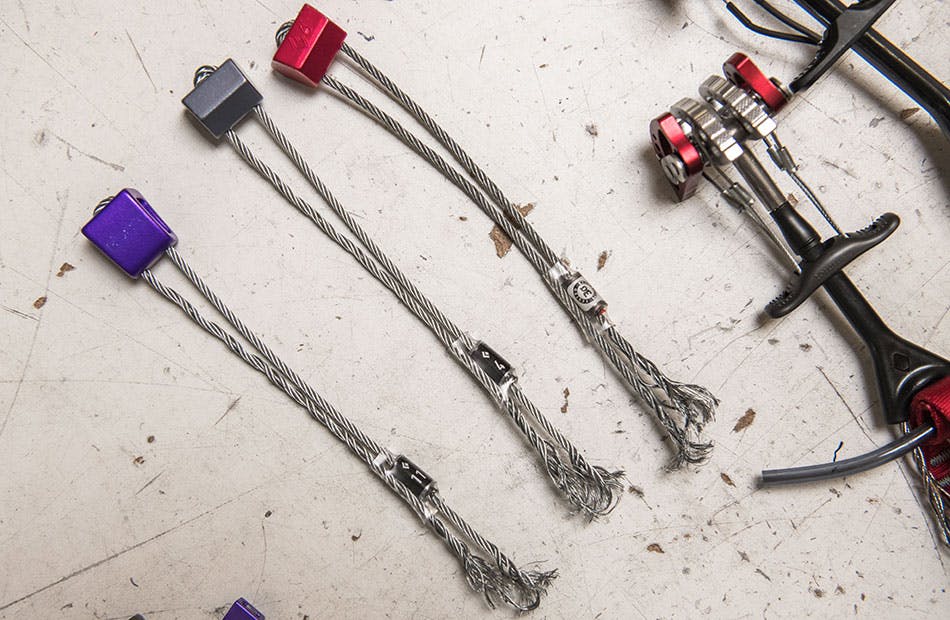
Nous avons décidé d'examiner quelques bases : les stoppers, les hexagonaux, les cames, les longes et les boucles d'assurage. Nous avons analysé leur résistance ultime, le moment et la raison de leur rupture. Lorsqu'on pense à la résistance ultime du matériel d'escalade, il est toujours bon de prendre en compte les charges que tu rencontres habituellement sur le terrain dans des conditions d'escalade typiques, tout en gardant à l'esprit qu'il existe des situations où ces charges peuvent être dépassées. Nos amis de Petzl viennent de publier un court article contenant d'excellentes informations sur les charges en conditions réelles. Ça vaut le coup de le lire pour mieux situer la résistance du matériel ou le niveau requis.Les forces en action lors d'une vraie chute
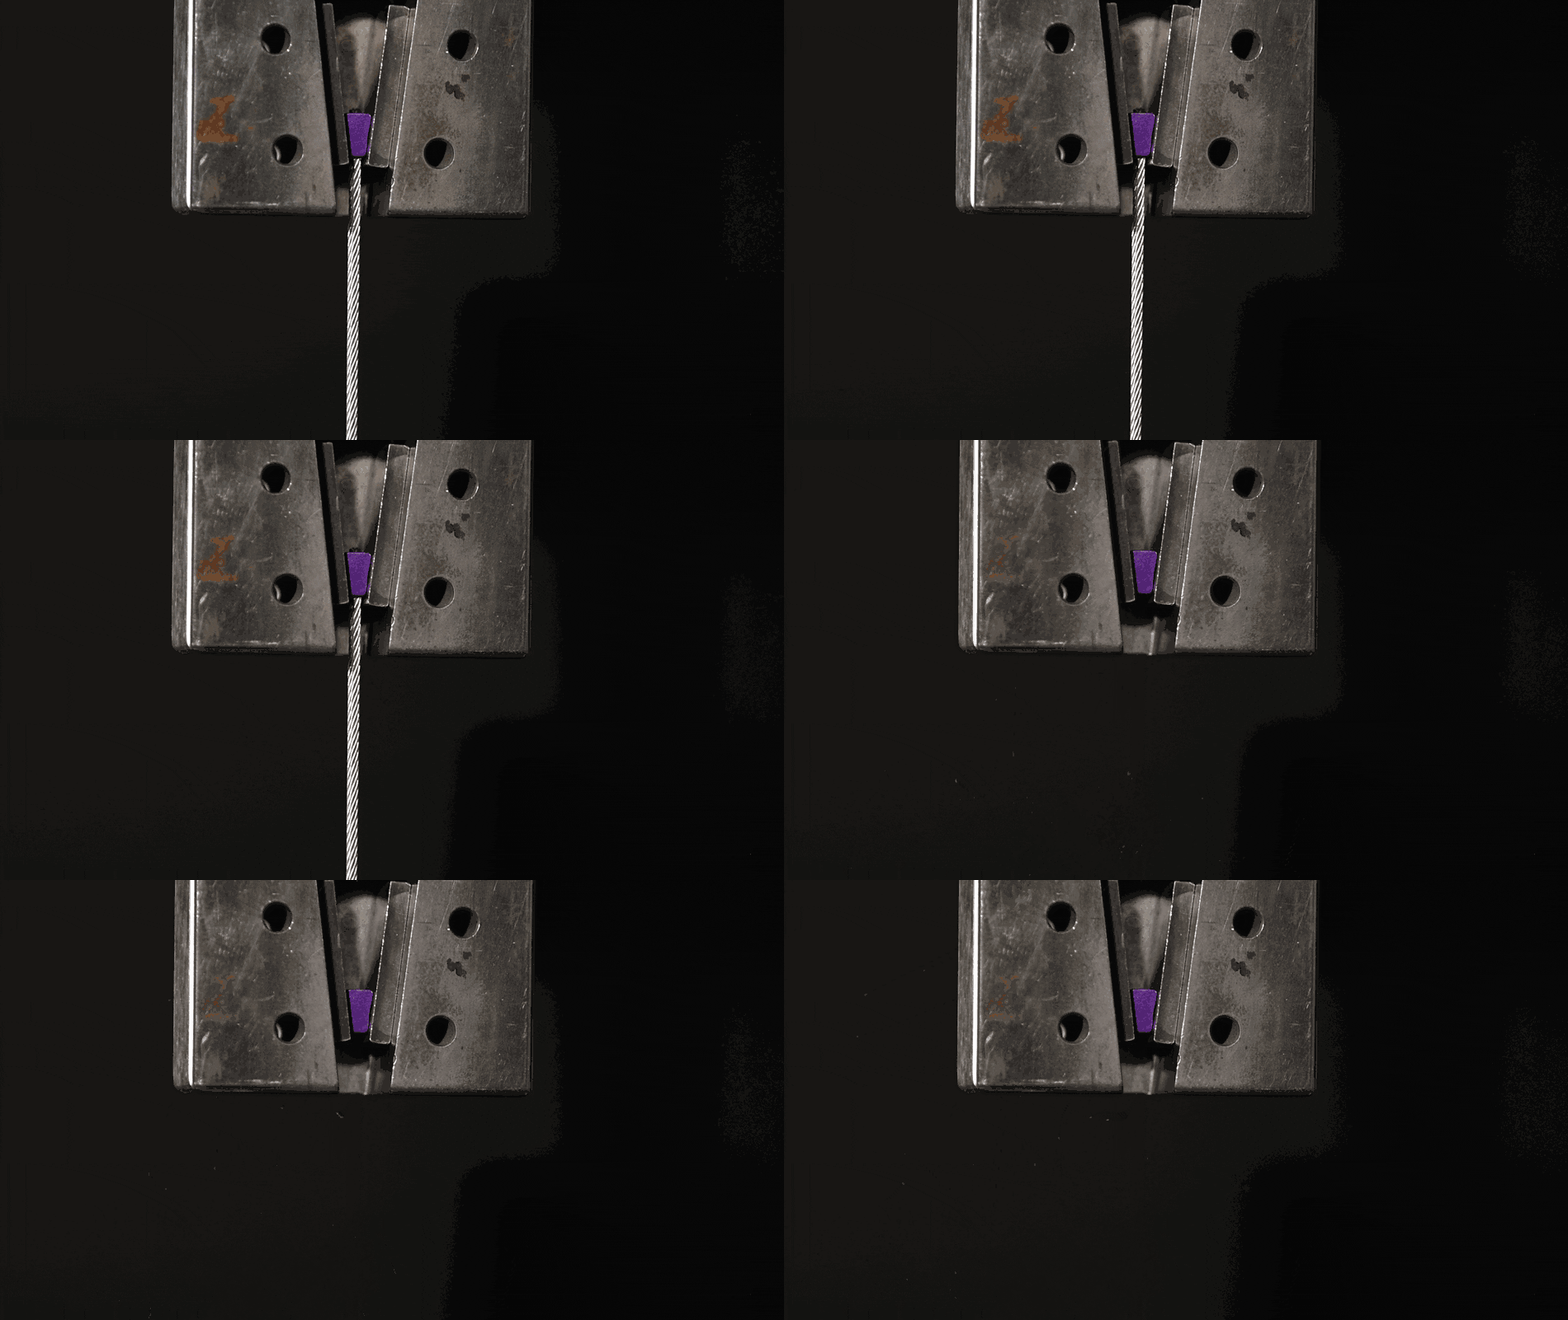
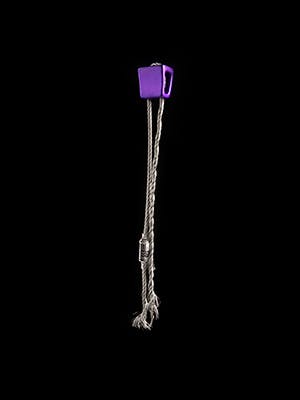
Les stoppers et hexes de tailles différentes affichent souvent des classifications de résistance distinctes. Cela s'explique par la taille variable du câble utilisé ainsi que par les dimensions différentes du stopper, qui font que le câble effectue des courbes plus serrées ou plus douces. Quelqu'un s'est demandé à quel endroit les stoppers se brisent, alors nous en avons cassé quelques-uns. Nous avons utilisé un gabarit de stopper standard et des dispositifs hex qui assurent un positionnement parfait du stopper, et nous avons simplement utilisé un carabiner à l'autre extrémité pour représenter une utilisation en conditions réelles.
#1 Stopper – résistance – 2kN
Cassé à 3.3kN – câble à l'écrou.
Ce câble de très petit diamètre forme un rayon serré à l'extrémité de l'écrou du stopper — il n'est donc pas surprenant qu'il se soit rompu à cet endroit. Ces stoppers super petits sont généralement utilisés uniquement pour l'escalade d'assistance, car il ne faut pas grand-chose pour générer une charge de 2kN.
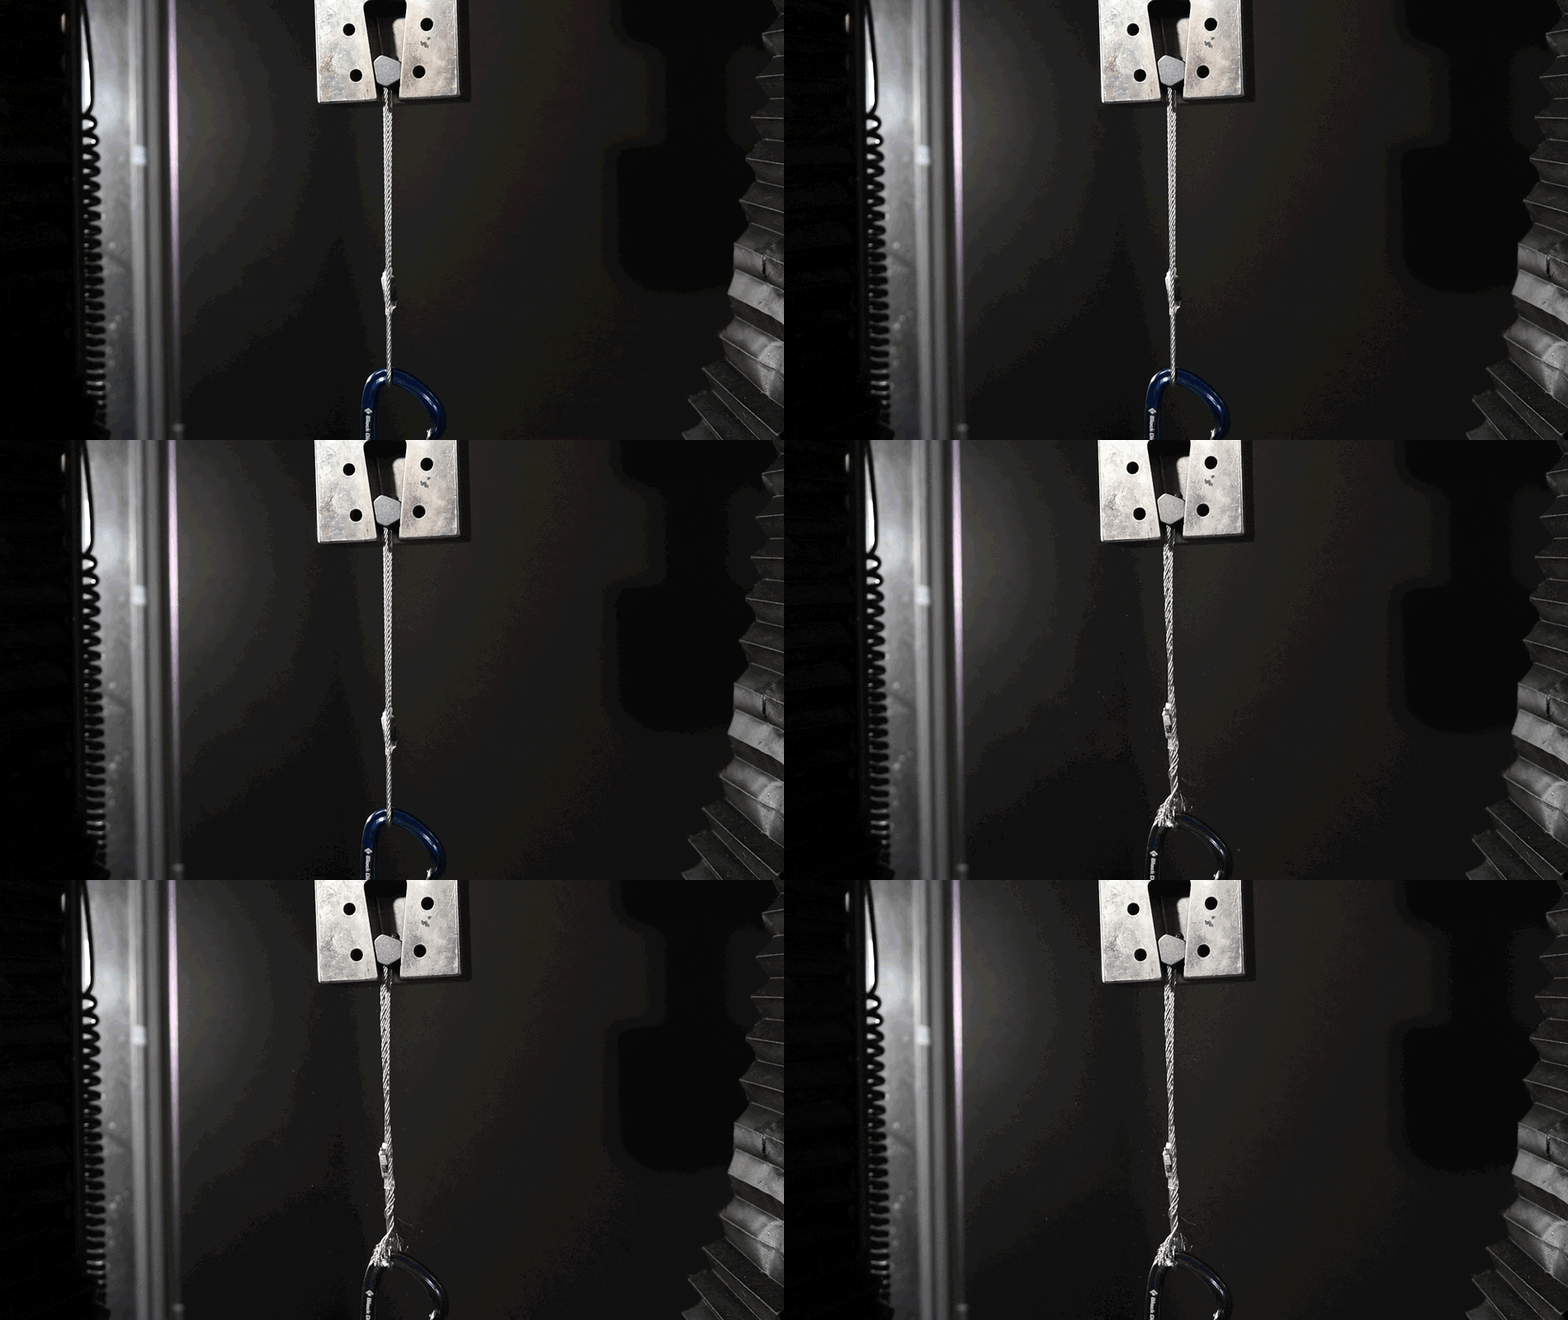
#5 Stopper – charge nominale – 6kN
Cassé à 8.3kN – câble sur l'écrou.
Encore une fois, le câble se casse au niveau de l'écrou dans ce cas. Ces charges ne sont pas très courantes, mais elles sont possibles sur le terrain.
#11 Stopper – charge nominale – 10kN
Rupture à 11.2kN – câble sur mousqueton.
Avec le câble plus large et une courbure moins serrée à l’écrou, le mode de défaillance s’est déplacé vers une courbure du câble plus serrée sur le mousqueton — se cassant à nouveau au-delà de la cote, et à des charges peu susceptibles d’être rencontrées sur le terrain lors de scénarios d’escalade normaux.
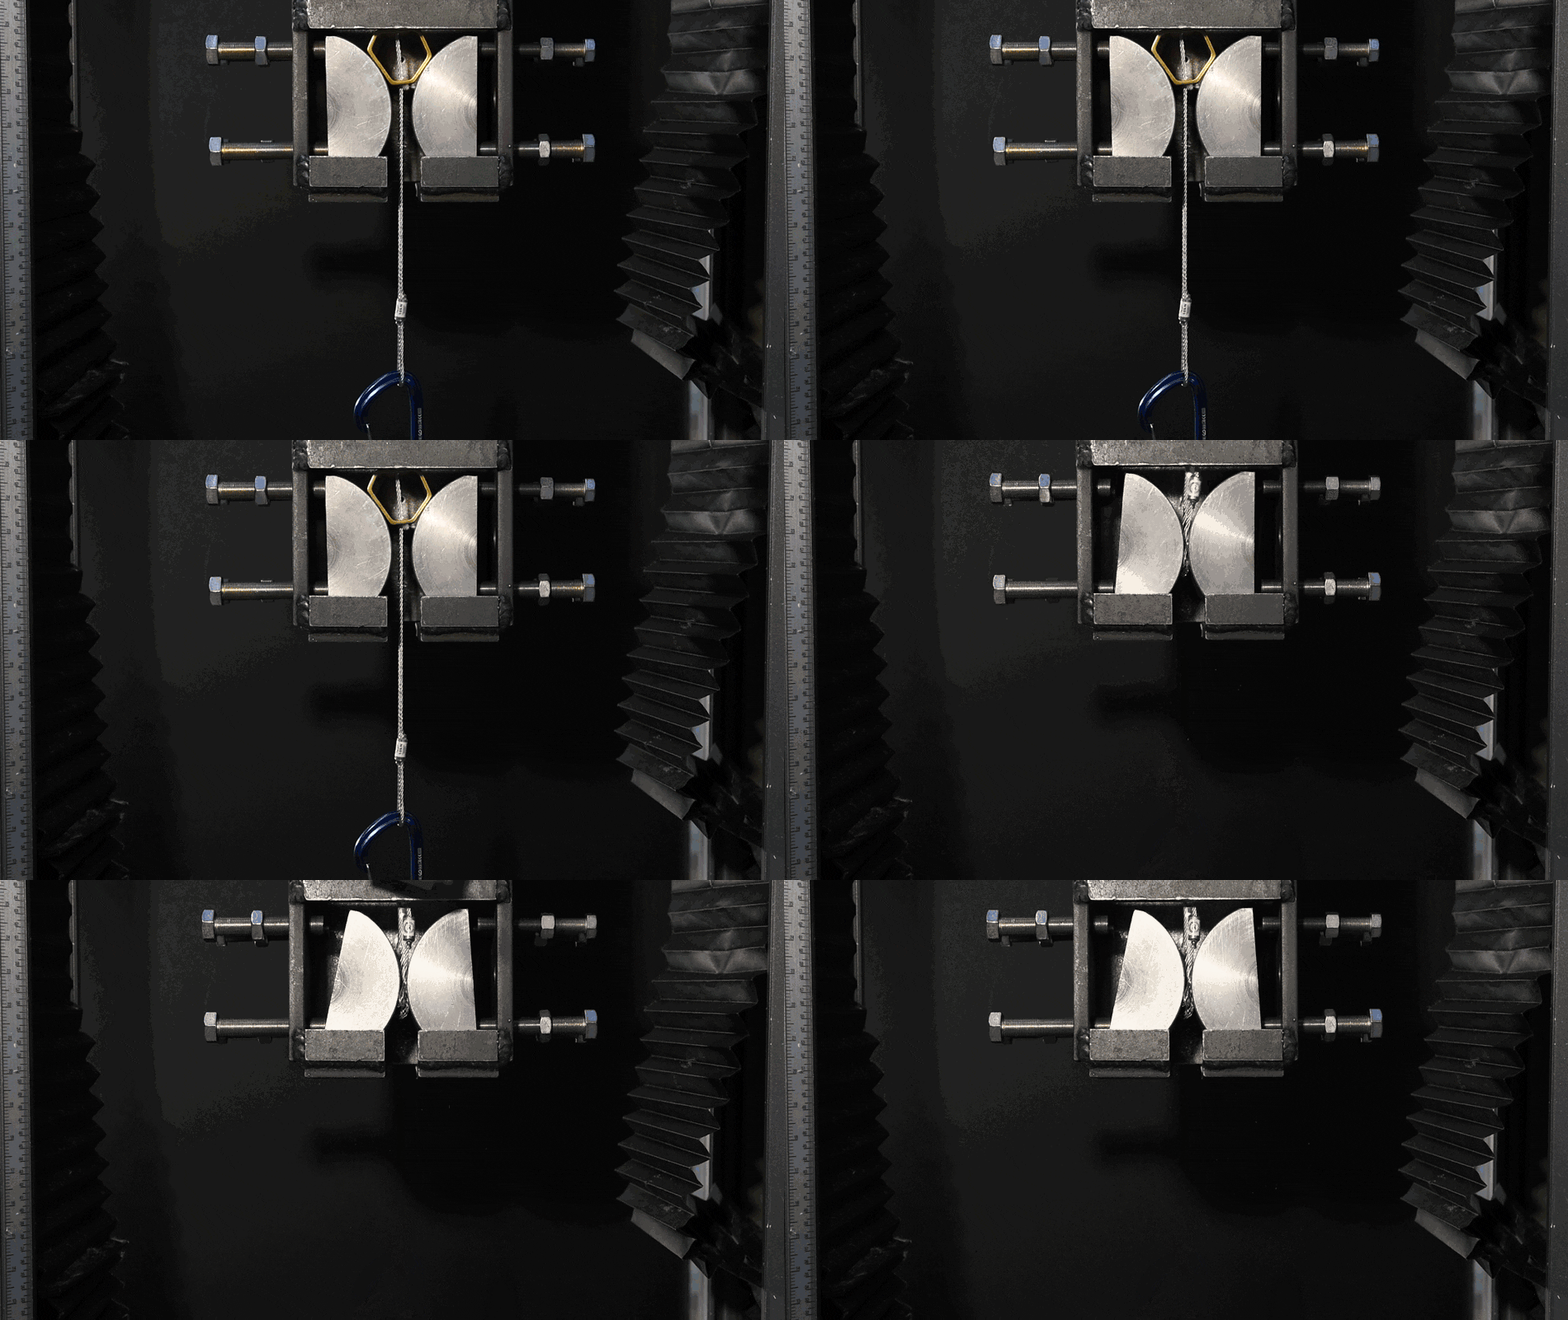
#4 Hex – cote 10kN
Rupture à 11.4kN – câble au mousqueton.
Similaire au bouchon ci-dessus.
#6 Hex – capacité 10kN
Cassé à 11.9kN – câble sur le mousqueton.
Les Hexes sont maintenant accrochés avec des câbles, donc c'est logique qu'un Hex avec le même câble qu'un stopper se casse à peu près sous la même charge.
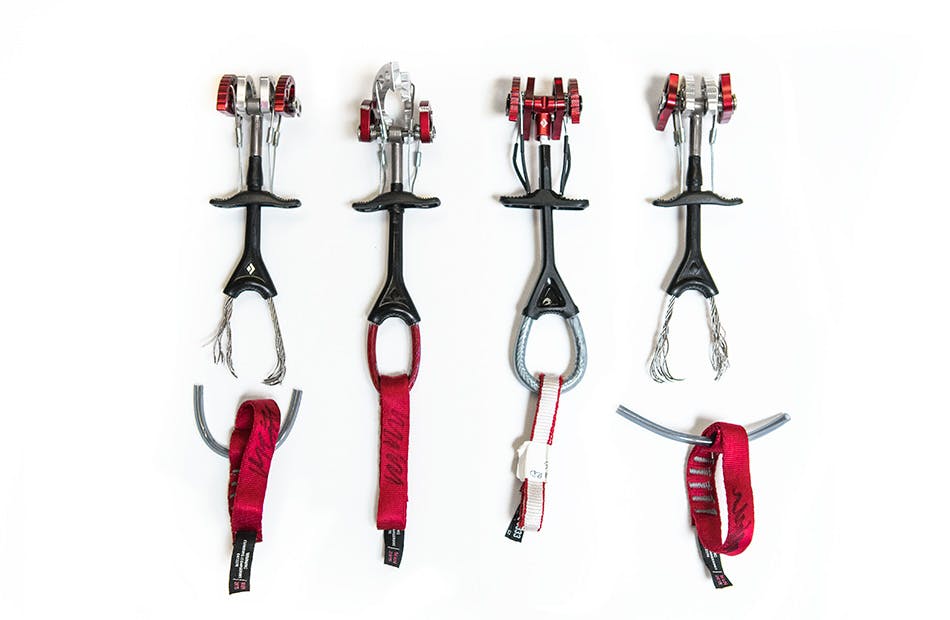
#6 Hex – threaded with 6mm cord
Broke at 7.4kN – cord was cut at the hex.
One of our manufacturing engineers was digging through her gear and found some old hexes slung with cord. Back in the day when I started climbing, you actually bought JUST the hex—it didn’t come with cable, cord, nothing. You would get some 6mm and sling it yourself with a double fisherman’s. So that’s what we did—just to compare strength-wise to the “new school” way of using cable. We didn’t want to break Taylor’s vintage gear so we cut the cable off a new hex and re-slung it with 6mm. Not surprisingly it was significantly weaker than if cable was used—the cord ended up being cut by the edge of the holes in the hex.
Not only does using cable on a hex make it stronger, but it also makes it easier to place, much more functional, and easier to remove because of the relative stiffness of the cable. Trying to place a slung hex is tough as it’s as floppy as a wet noodle.
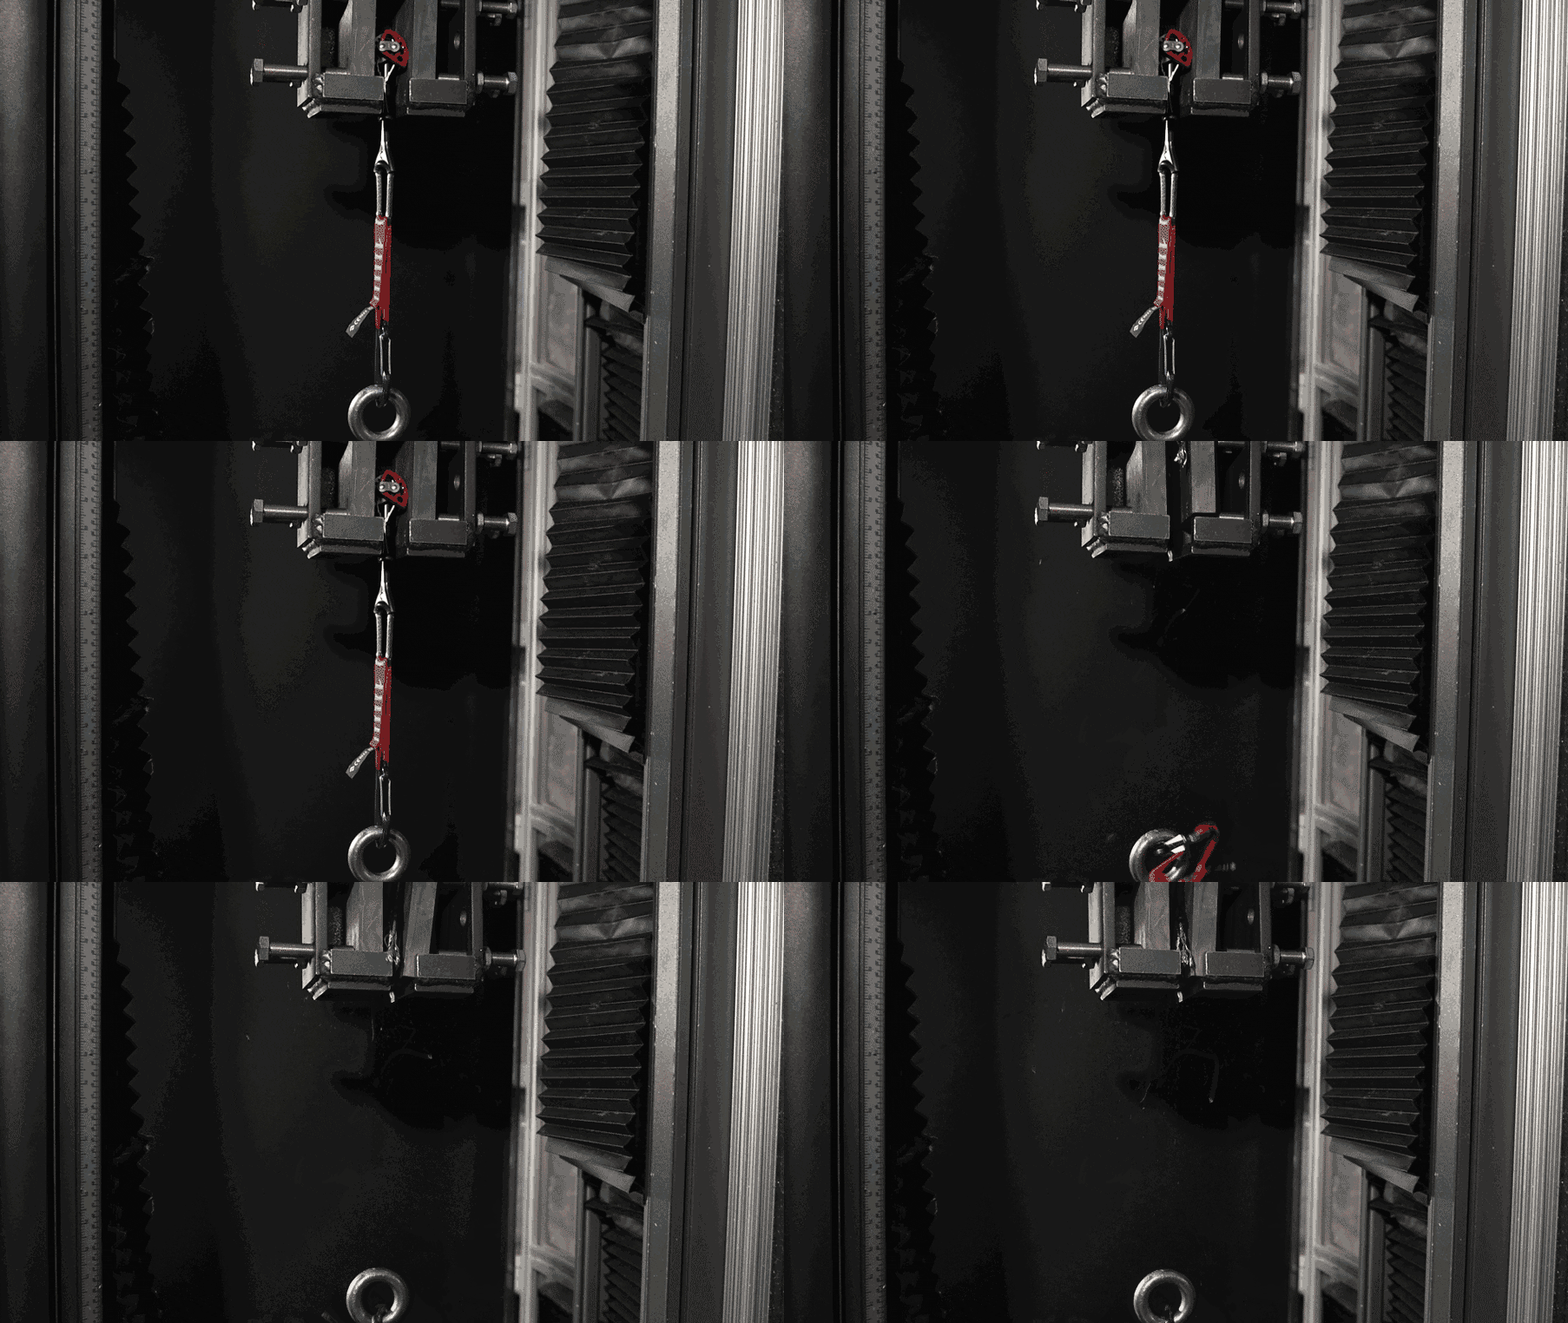
Les cames de tailles différentes ont des niveaux de résistance différents. Et différents styles de cames peuvent avoir des niveaux de résistance différents et se casser de manières différentes. La plupart des gens n'ont jamais vu une came testée jusqu'à sa résistance ultime, alors nous avons décidé d'en casser quelques-unes dans différentes orientations.
#1 Camalot – capacité 14kN – testé à 50 % rétracté
Cassé à 15,5kN – câble à la boucle du pouce.
Un superbe Camalot rouge, testé dans une pose exemplaire. Dans des situations d'escalade normales, il y a très peu de chances de jamais voir une charge dans cette gamme – et si c'est le cas, il y a sans doute des problèmes bien plus importants à gérer.
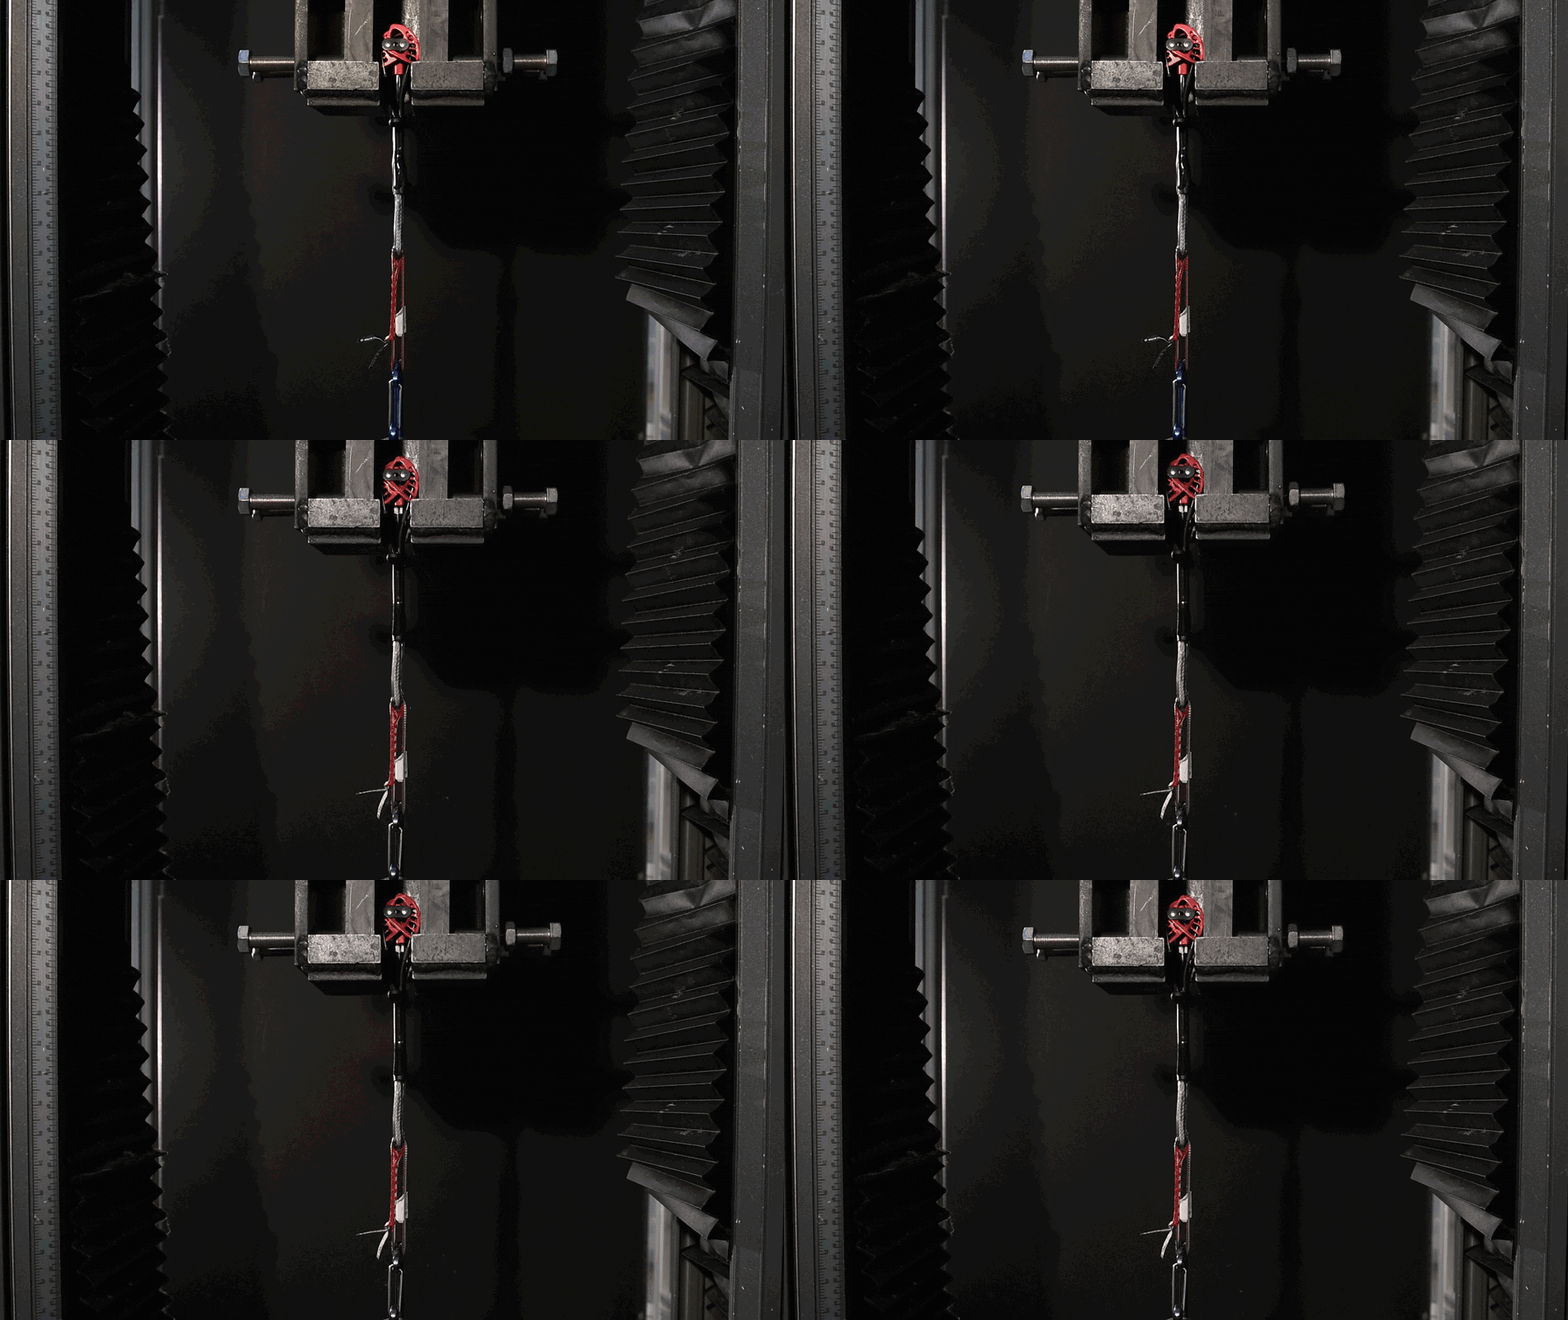
Beaucoup de gens se demandent pourquoi nous utilisons la sangle double épaisseur sur nos Camalots, et voici pourquoi. La sangle double épaisseur répartit la charge et empêche le câble de se coincer et de couper la sangle. Elle empêche également le câble de se tordre lors de chutes normales, et, en fin de compte, la rend plus résistante.
#1 UL Camalot – cote 12kN – testé à 50 % rétracté
Cassé à 18kN – câble sur la goupille.
Les UL Camalots se cassent à un endroit différent de celui des C4 Camalots. La conception est telle que le noyau super résistant en dynex entoure la goupille à rayon serré située à la tête du UL Camalot, et c'est à cet endroit qu'il cède lors des tests de destruction.
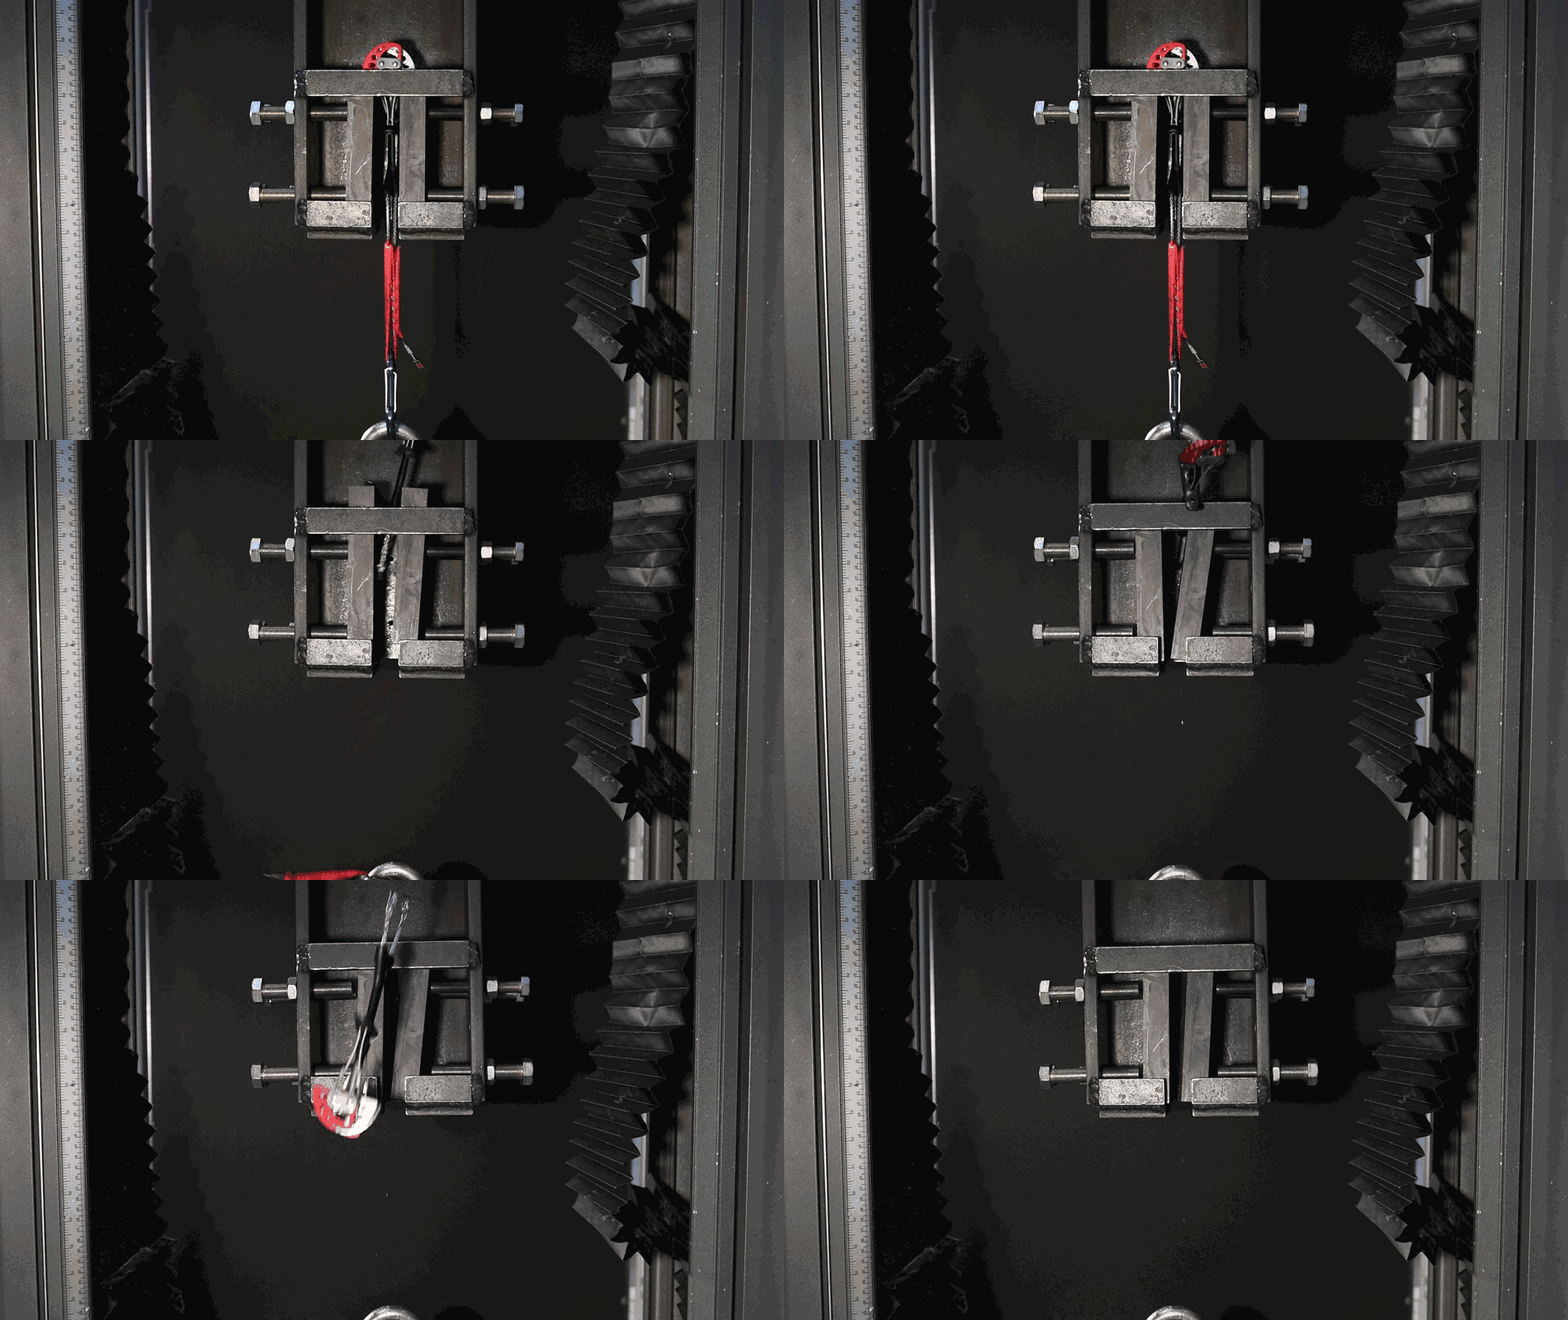
#1 Camalot – rating 12kN – testé dans Umbrella (Passive) à 50% d'espacementRupture à 15,2 kN – destruction du lobe de came.
Je fais de l’escalade depuis plus de 25 ans et je n’ai jamais placé de coinceur dans un umbrella, mais si je le faisais, il serait sacrément solide. Les coinceurs à double axe offrent non seulement un point d’ancrage super robuste en placements passifs, mais permettent aussi une plage de placements plus étendue.
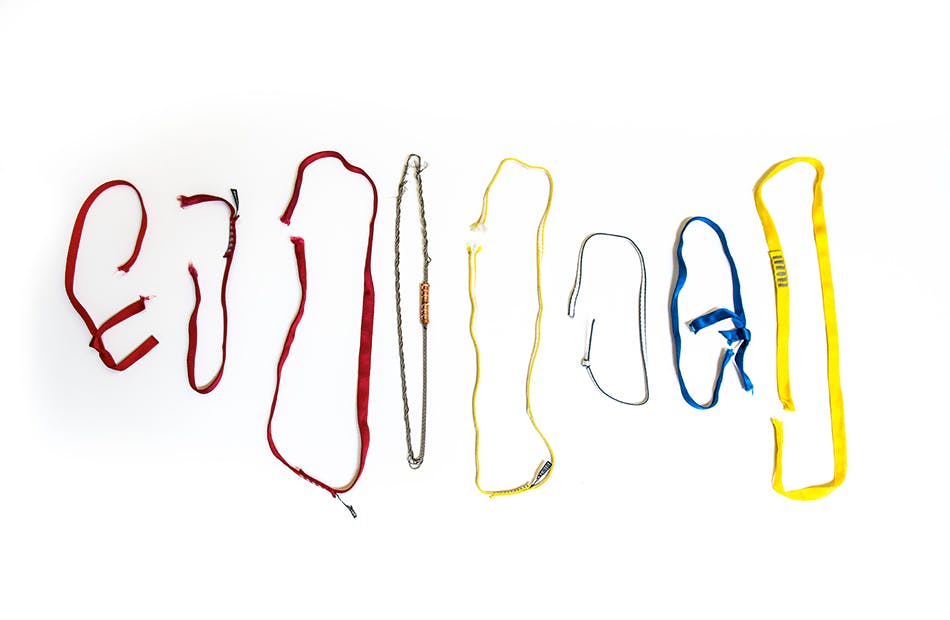
#1 Camalot – rating 12kN – testing in Umbrella (Passive) at tight spacingBroke at 15.4kN – cable at thumb loop.
We tested another one, with slightly tighter spacing in the passive placement. The result was a typical failure mode of the cable breaking at the thumb loop. Of course, if you were to place a cam in umbrella, the tighter the spacing, the better.
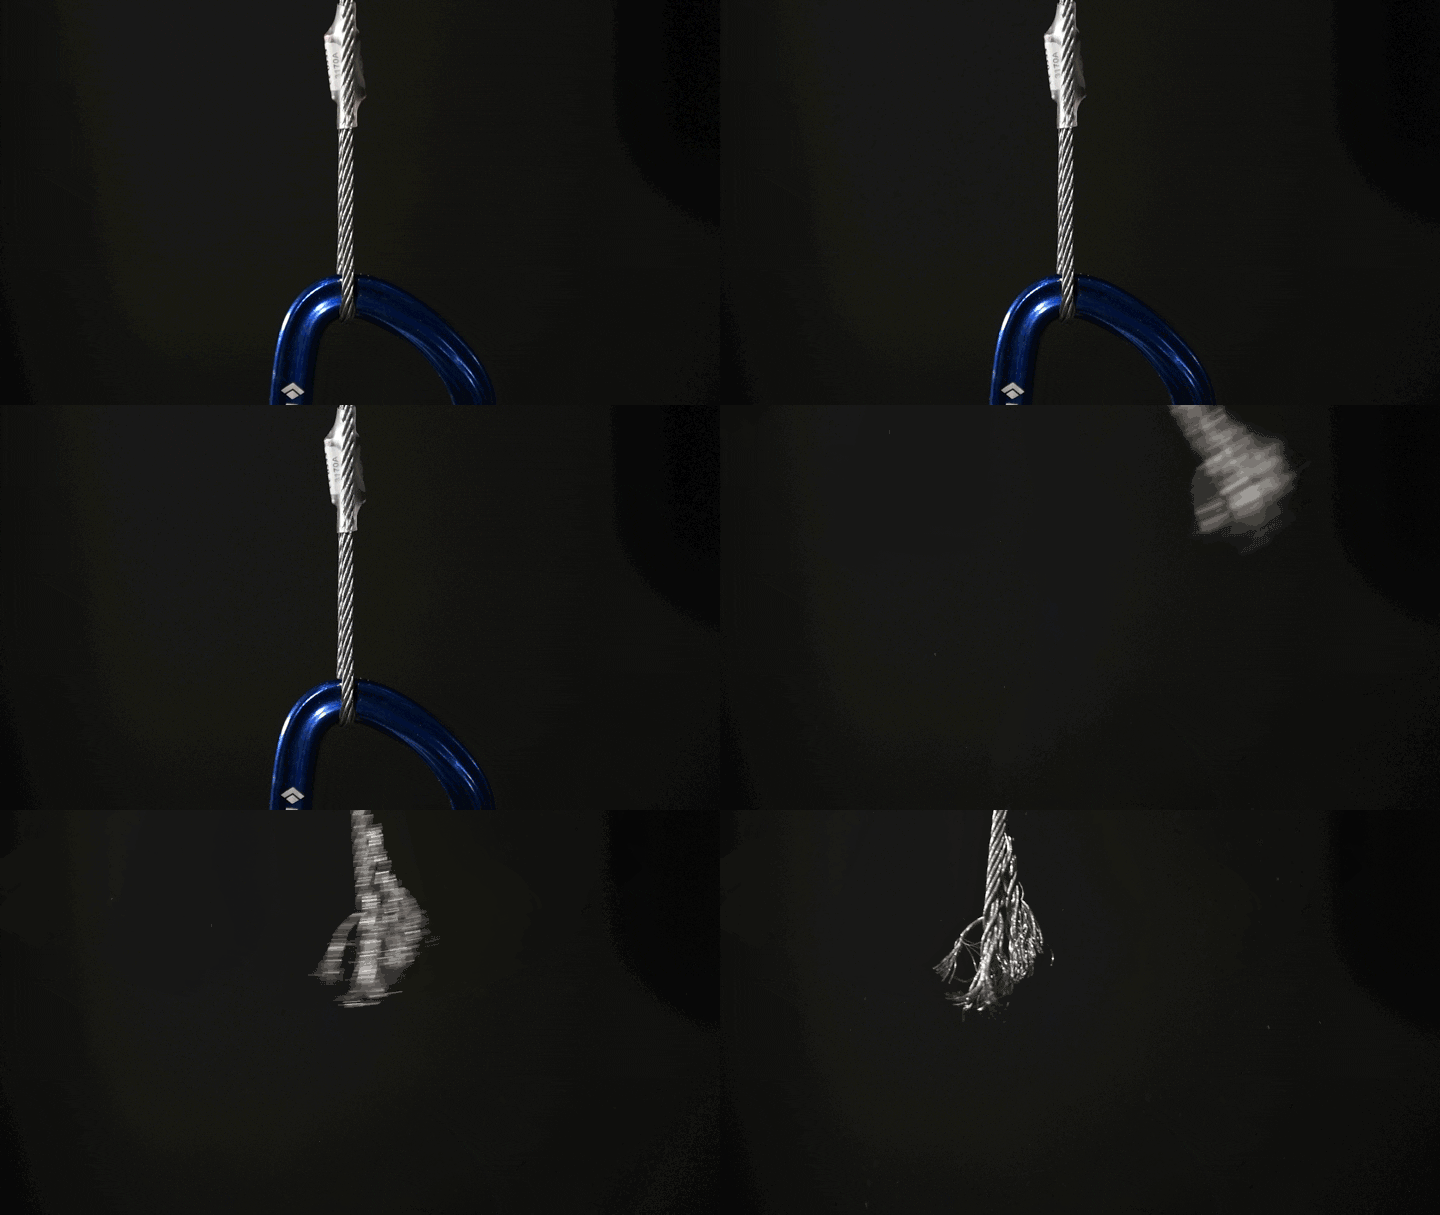
Autrefois, on nouait des sangles pour en faire des élingues. De nos jours, les élingues cousues sont la norme – généralement en nylon ou en Dyneema/Spectra/Dynex (pour l'exemple, c'est du tout pareil). Nous avons effectué quelques tests en traction pour démontrer la résistance ultime, la différence d'élasticité et la manière dont elles se rompent. Nous avons également fabriqué une « élingue en câble d'acier » pour comparaison. Nous avons testé en utilisant des broches de 12mm afin d'éviter de casser potentiellement les carabiners pendant le test.
Câble en acier 3/16” double serti – 60cm Rupture à 27.1kN – câble sur goupille.
Poids: 154g
Nous avons cassé ceci uniquement pour référence et comparaison—résistance et élasticité.

18mm Nylon Runner – cousu – 60cm – capacité de charge – 22kN
Cassé à 27.2 kN – sangle à la goupille.
Poids: 37g
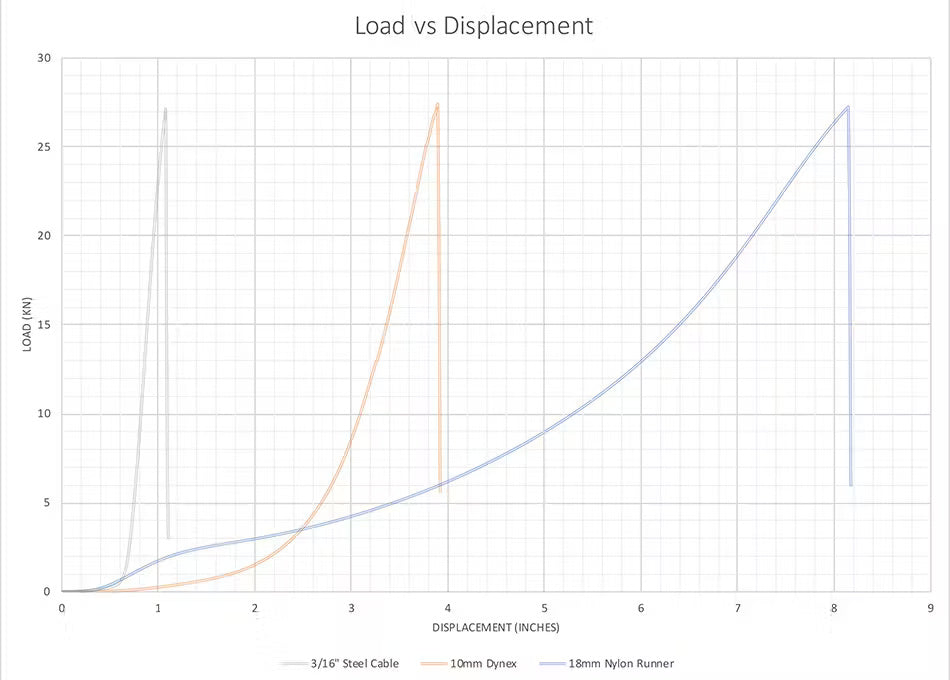
Ce runner en nylon s'est étiré BEAUCOUP plus que le câble en acier.
10mm Dynex – cousu – 60cm – charge nominale de 22kN
Cassé à 27.4kN – sangle sur la goupille.
Poids : 20g
On dit que Dynex est aussi résistant que l'acier. Dans ce cas, c'est vrai. Cette élingue Dynex cousue de 60 cm et de 10 mm pèse environ 19 grammes et s'est rompue à plus de 27kN. Pour comparaison, le câble en acier de 3/16” pesait 154 grammes et s'est rompu avec une résistance à peu près identique — un peu plus de 27kN ; et l'élingue en nylon cousue de 60 cm et de 18 mm pesait 36 grammes et s'est également rompue à un peu plus de 27kN.
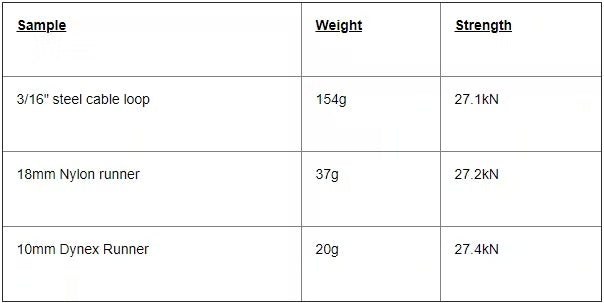
Strength to Weight
Amount of Stretch
You can see by looking at the graph that the steel cable didn’t stretch much before it broke at over 27kN—just over an inch. The Dynex by comparison stretched almost four times as much as the steel, and broke at about the same load. So yes, Dynex stretches more than steel. But then look at the Nylon—it stretched twice as much as the Dynex, and about eight times as much as the steel, and broke at the same load.
This is why you want to use the right tool for the job. Use Dynex slings when weight really matters and you’re willing to accept the consequences of higher loads because of not much stretch. Use nylon when weight isn’t as critical and when you’re wanting the system to absorb a bit more of the energy from the load, like on sketchy gear placements.
18mm Nylon Runner with pin-hole – sewn – 60cm – rating – 22kN Broke at 19.4kN – at hole.
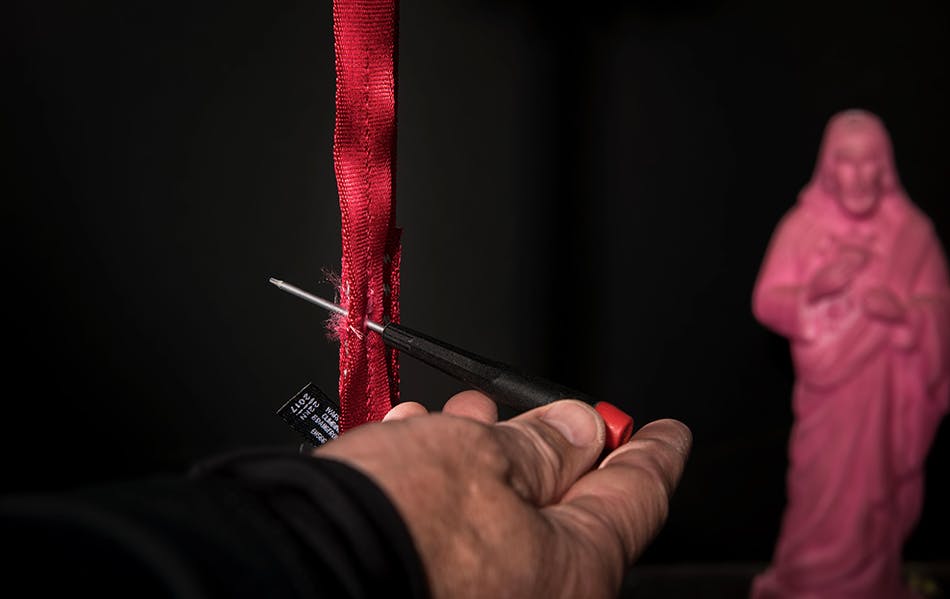
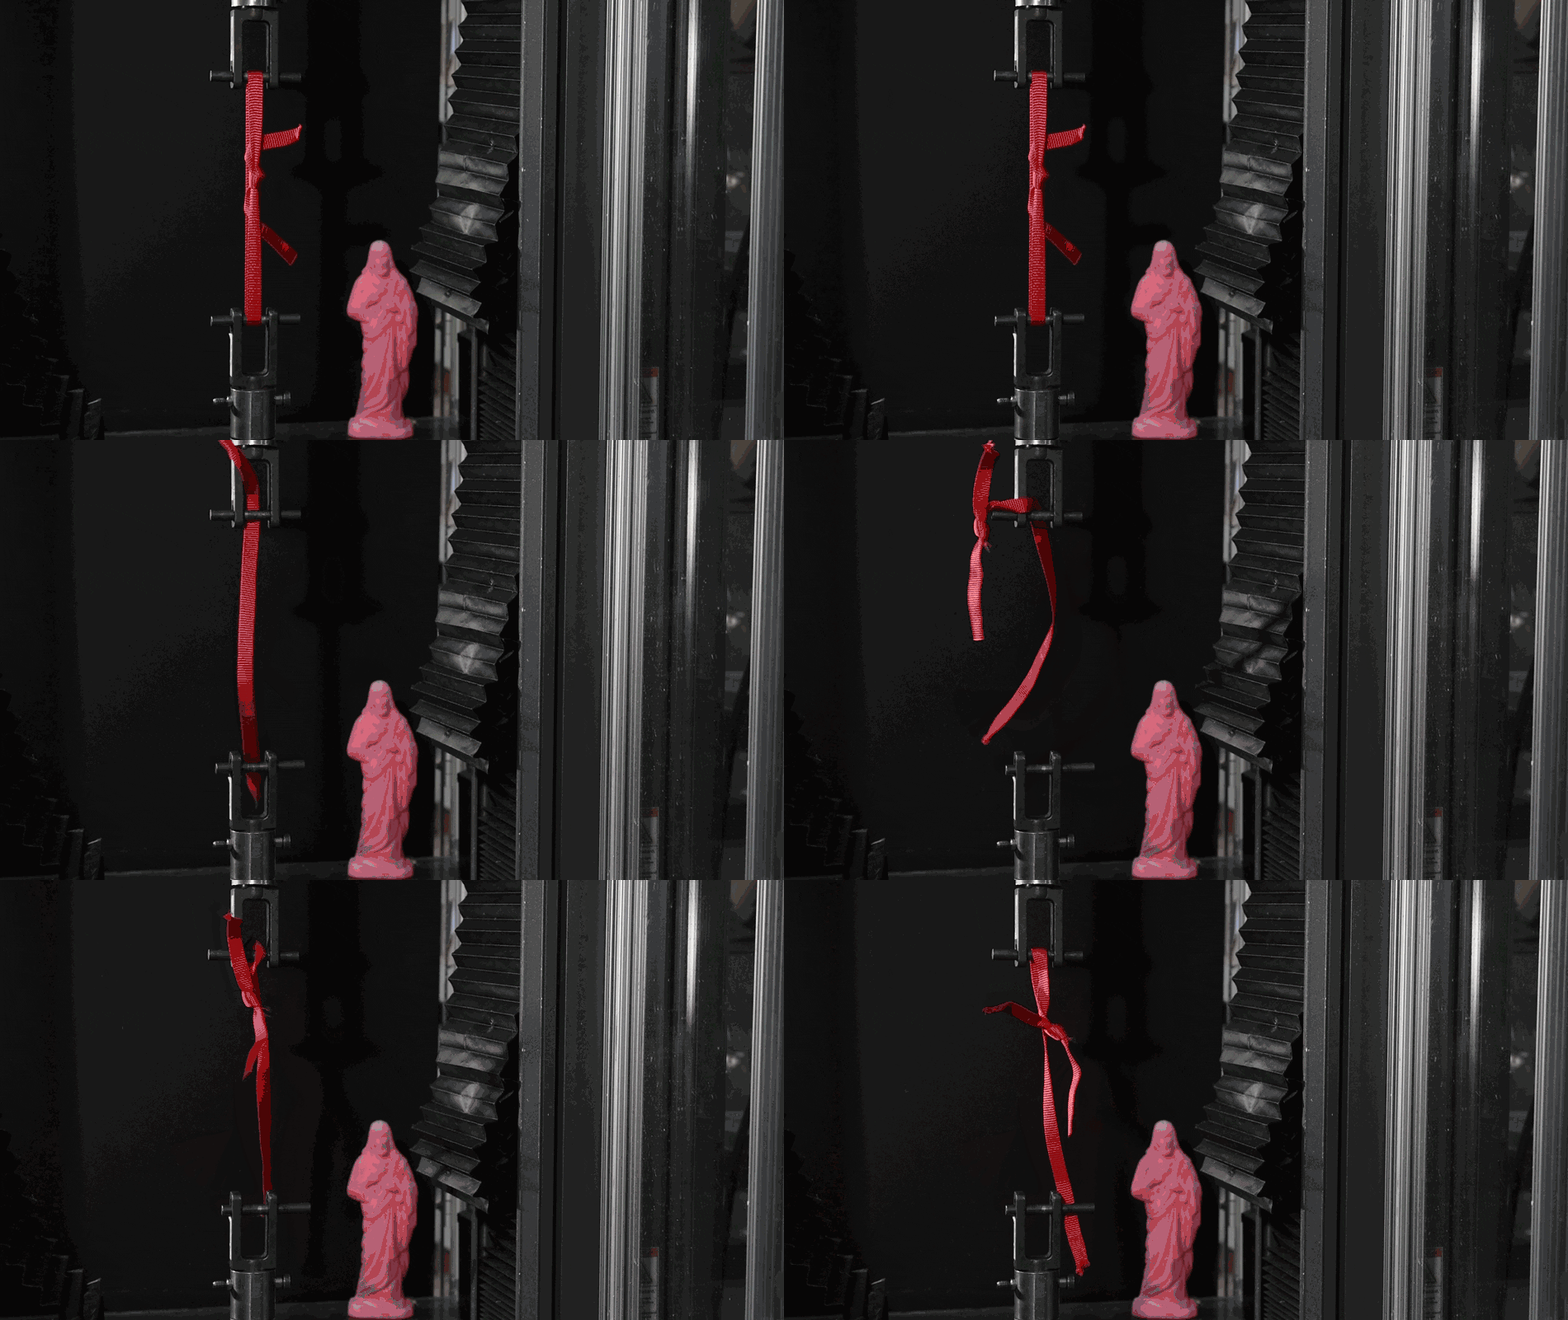
This is an interesting one, as we weren’t expecting it. I literally grabbed this sling from my office, not knowing what it was, where it was from, its history, etc. While putting it in the tensile tester, we notice it had a small, but visible pin hole in it—maybe 1mm in diameter. We figured it’d be fine, as long as we get to 22kN—the point was to have a comparison of how much the nylon stretched compared to steel and dynex. We were a little surprised when it broke at just over 19kN, with a noticeably more audible BANG—startling a few folks having a discussion not too far from the tensile tester. So, a few takeaways:
18mm Nylon Runner – with hole pierced on purpose – sewn – rating – 22kN
Broke at 16.7 kN – webbing at hole
Based on the above test, we tried to recreate it by purposely stabbing a hole through the webbing. I would say this hole was slightly bigger, but not as clean as the previous test. By this point, given our intention, it wasn’t surprising that this sling failed to meet the rating. Once again, check your gear. If it’s suspect—best to retire it.

Sewn slings need to meet 22kN in order to be certified to the CE standard. Some folks still buy webbing and make their own slings, and sometimes you may be in the field and find yourself in a situation where you have to cut a sling in order to tie it around a tree or chockstone to bail. So, we tested a few knotted slings.
18mm Nylon Runner, cut and tied with a water knot
Broke at 20.1kN – broke at knot
It’s not surprising that this failed at a lower load than if sewn, and also not surprising that this failed at the knot. In most cases, the knot is the weak point.
10mm Dynex tied with a water knot
Slipped at 7.7kN
There’s actually a reason you can’t buy Dynex/Dyneema/Spectra from a spool and this is it. This material is very slippery and doesn’t hold a knot. Don’t knot your Dynex slings.
10mm Dynex tied with a water knot
Slipped at 7.8kN
We tied and tested another sample just to be sure. Once again, don’t knot a Dynex sling.
Random Flat webbing – tied with a water knot
Broke at 13.9kN
There are many kinds of webbing out there, and it’s not always obvious if it is “strong” or not. Once again, I grabbed a piece of webbing, literally off the floor of my office. I have no idea where it came from, or what it’s from—it could be some webbing used in a backpack or a belt for some ski pants for all I know. We tied it with a water knot and it withstood almost 14kN. Not bad, but nowhere near where a piece of 18mm nylon knotted or sewn sling would hold. Don’t just blindly trust webbing that “looks like” climbing webbing.
Belay loops are burly strong. One of the first QC Labs we ever did was about belay loops: QC Lab: Strength of Worn Belay Loops
As far as the CE standard for harnesses go, there is no belay loop specific test, rather the belay loop is in the full harness system during testing and must withstand 15kN.
Most Black Diamond belay loops are constructed with a protective layer of webbing that protects the structural bar-tacks from abrasion—so when testing a belay loop to destruction, it’s actually the protective layer that peels away first. It’s pretty cool to see, so we thought we’d break a few.
Belay loop – rating – 15kN
Sample 1 - Broke at 22.9kN – at tack
Sample 2 – Broke at 21.9kN – at tack
The protective covering starts to crackle and pop and break at lower loads, but the ultimate strength of a belay loop far exceeds any load you’d see in the field under typical use.
• Small stoppers aren’t as strong as big stoppers – the cable breaks.
• Don’t sling hexes—they’re too hard to place, and the cord cuts at a lower load.
• C4s break at the thumb loop—the double thick sling helps avoid it from being cut.
• UL Camalots break at the rivet near the head.
• Dual axle cams are strong even when placed like an umbrella.
• Dynex actually is as strong as steel.
• Nylon stretches more than Dynex.
• Small holes and nicks can weaken slings. Check your gear.
• Knotted Nylon is OK.
• Don’t knot Dynex, it’ll slip at relatively low loads.
• Even though webbing may “look” like burly webbing, it may not be.
• Belay loops are burly strong.
• Don’t trust anything from KP’s office.
Be safe out there,
KP


Watch Connor take down another classic testpiece on the Empath cliff in Kirkwood, California.


Follow BD Athlete Yannick Glatthard deep into the Swiss Alps as he shares his home...
Follow BD Athlete Yannick Glatthard deep into the Swiss Alps as he shares his home mountains with close friends.

Follow Dorian Densmore and Mya Akins for another winter season of steep Alaskan spines, backyard...
Follow Dorian Densmore and Mya Akins for another winter season of steep Alaskan spines, backyard couloirs, and deep adventures in the mountains.


Watch BD Athlete Alex Honnold throw down on some hard trad high above Tahoe.

In 2012, filmmaker and photographer Ben Ditto, and professional climber Mason Earle equipped an immaculate...
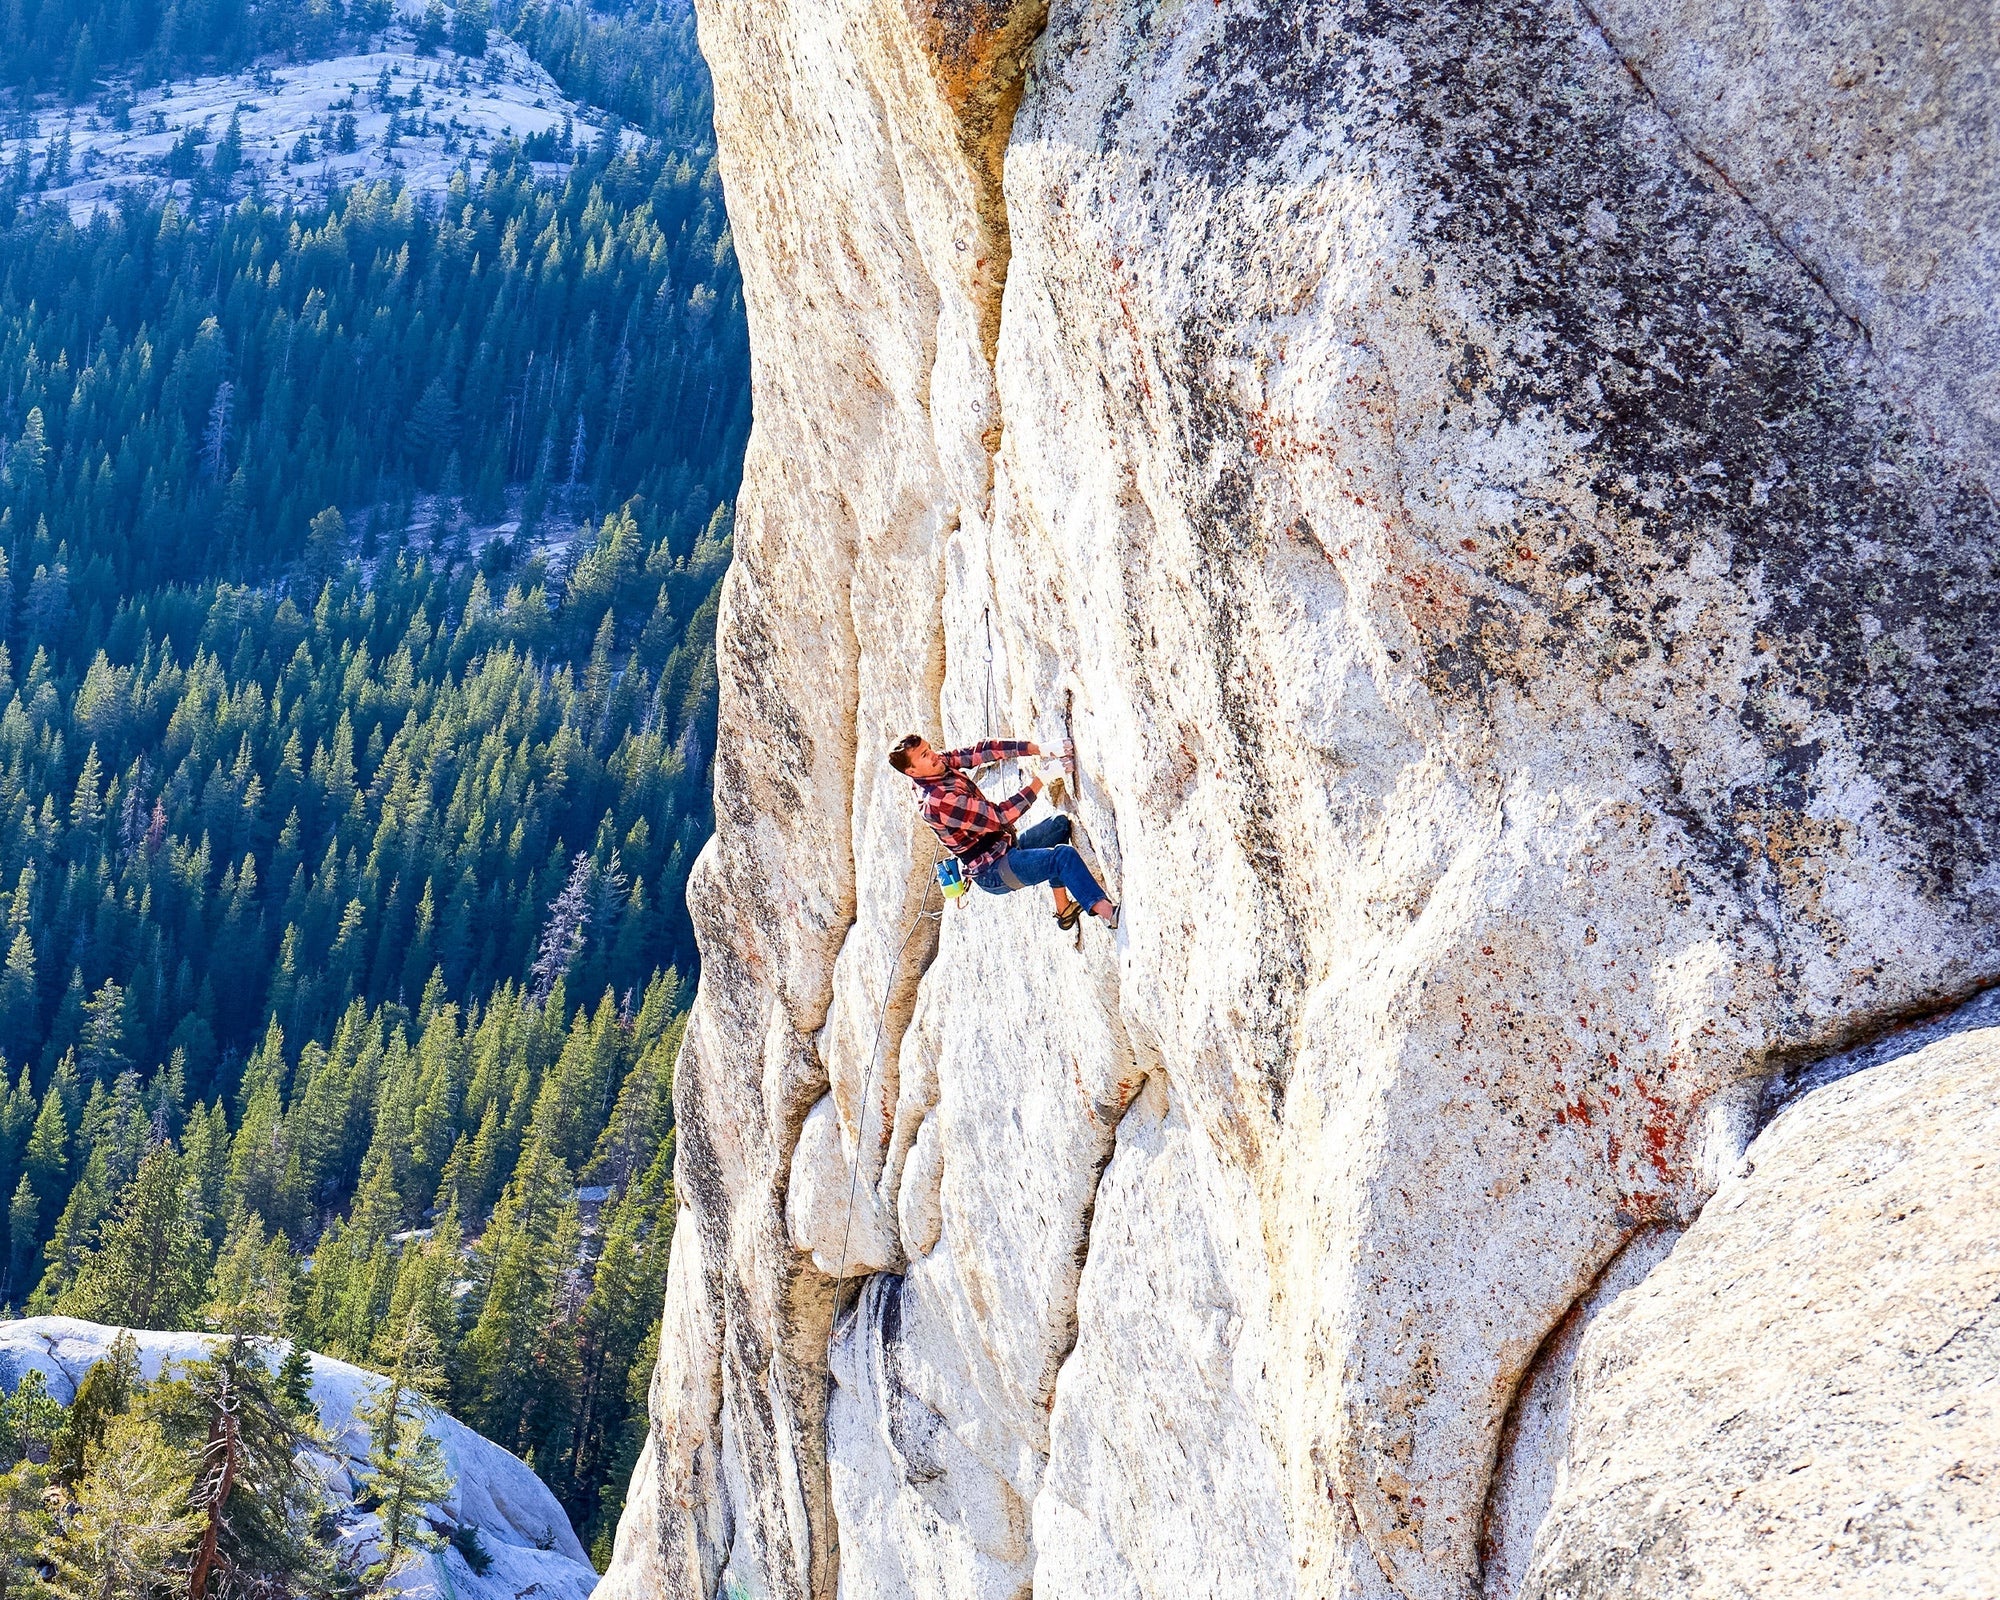
In 2012, filmmaker and photographer Ben Ditto, and professional climber Mason Earle equipped an immaculate line in Tuolumne’s high country. But their attempts to free the route were thwarted when Mason’s life changed drastically. With the help of Connor Herson, Ditto and Mason found a way to keep the dream alive.
Watch and learn as our Field Test Coordinator runs you through a step by step...
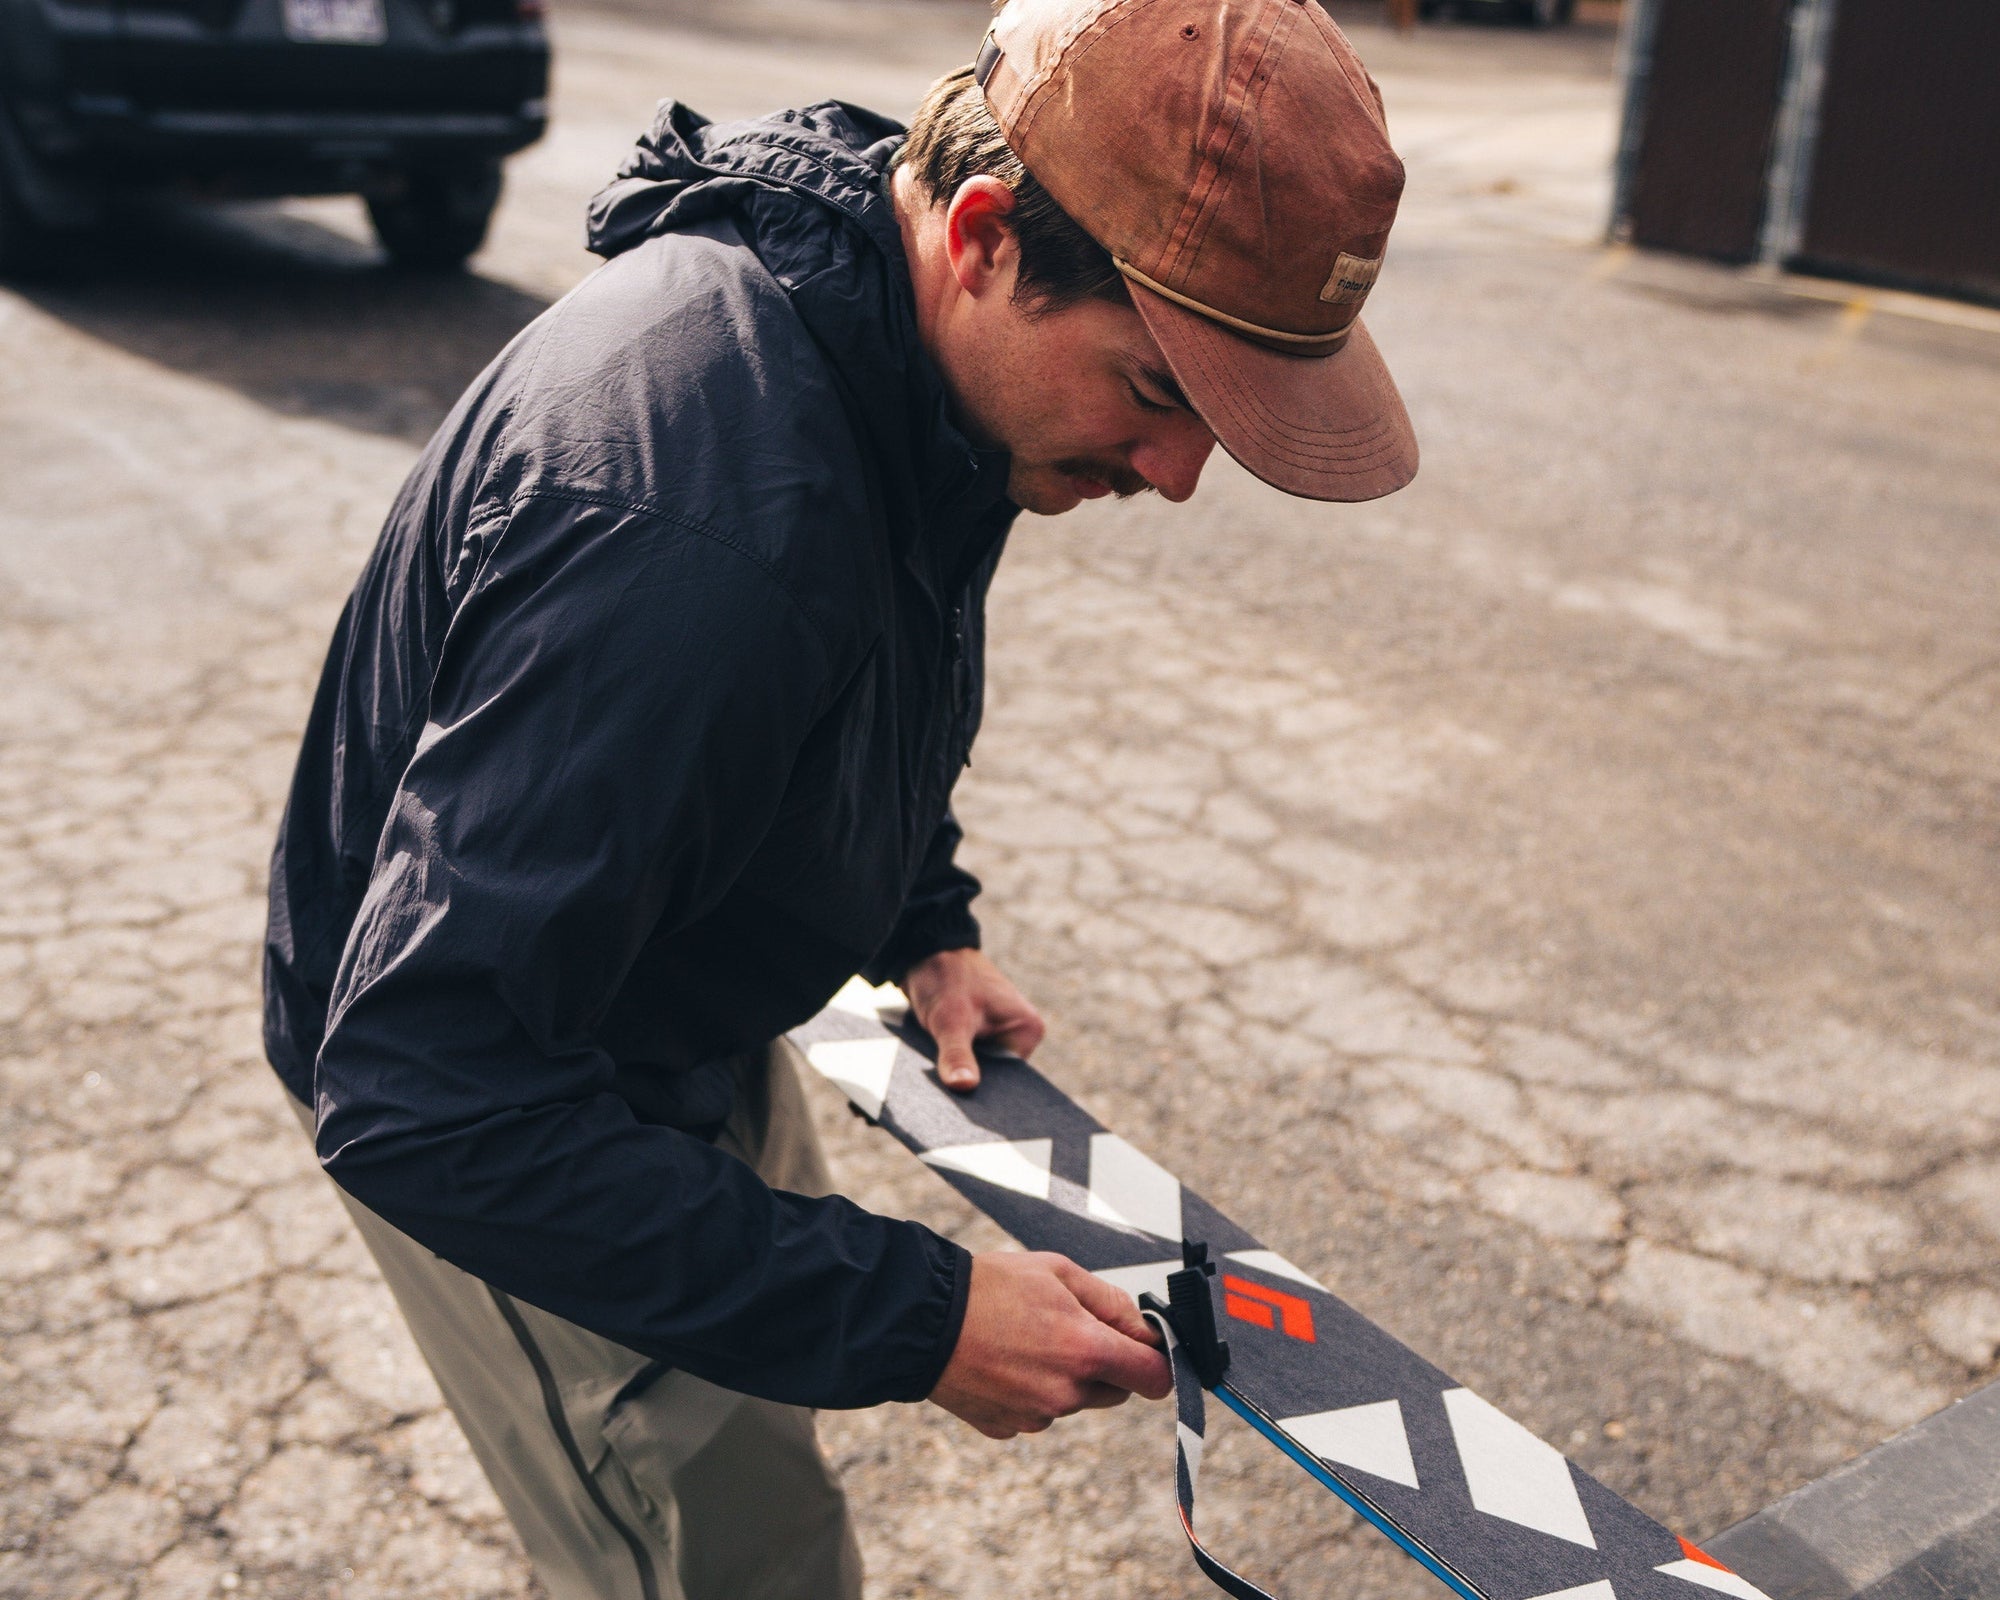
Watch and learn as our Field Test Coordinator runs you through a step by step process of trimming and setting up any STS-style Black Diamond skin.
